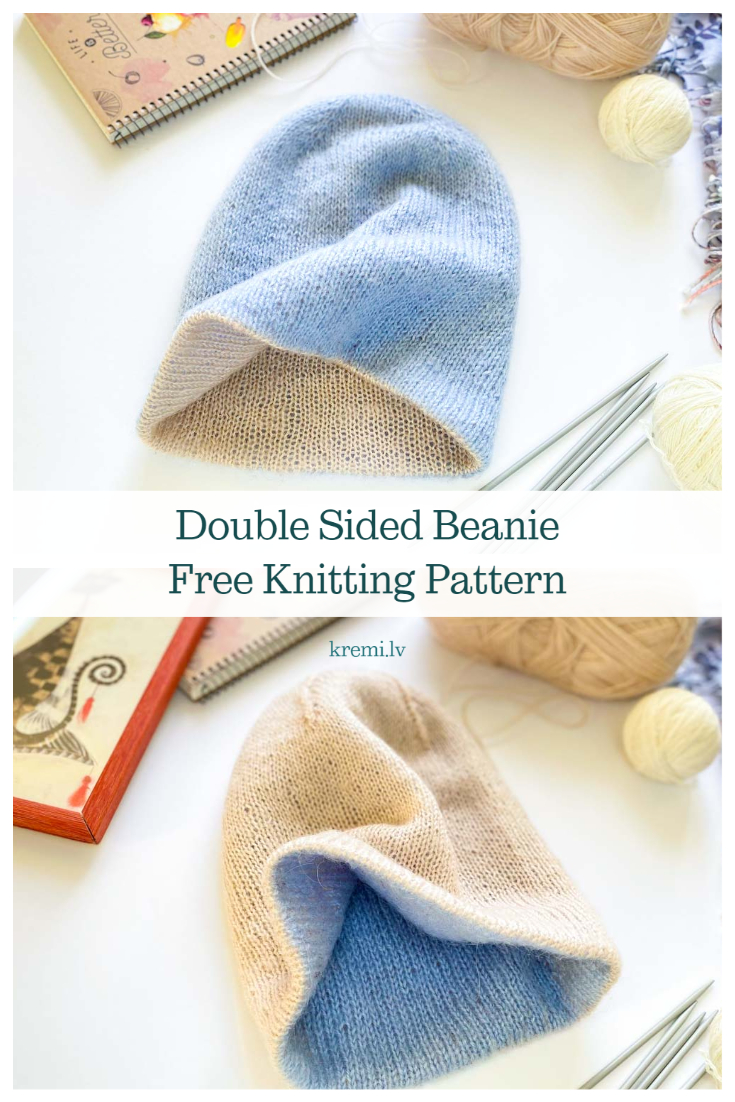
Double Sided Beanie Knit Pattern For Beginners
With each of my knitted hats, I surprise myself. Once again, I have created something that I like to wear myself. And of course I want to share with other knitters. This is comfortable, warm and stylish accessory for cold winter months if you knit with warm yarn or an Autumn / Spring beanie if you chose to knit with cotton or bamboo yarns.

This knitting pattern ir suitable for BEGGINERS.
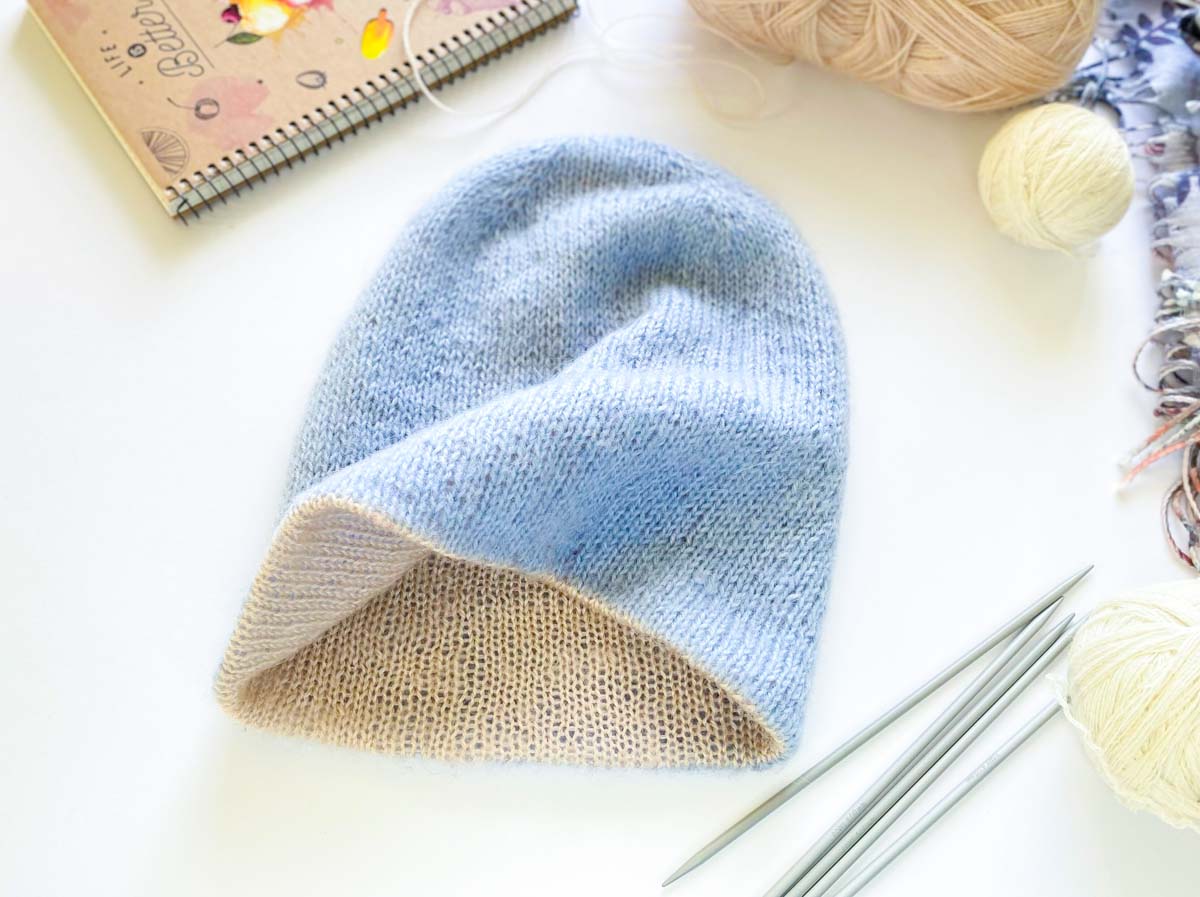
This time my project is a two-tone double hat made of mohair yarn. I chose mohair, because in my previous projects knitting with such a yarn, I noticed that the yarn warms my hands and even if the knit falls to my lap, it miraculously warms me up. Mohair yarn is also silky and slippery, as well as pleasing to the skin. This knitted beany is very light and in the same time extremely warm.

Light and very warm hat. When I first put it on and went for a walk, I grabbed a warm hat because I was afraid that the frost would get through. As a result, I can say that this double sided beanie is the most suitable to wear in winter. This hat is not the one that needs to be stretched on the head, it is exactly the size that fits well and is not tight around the ears.

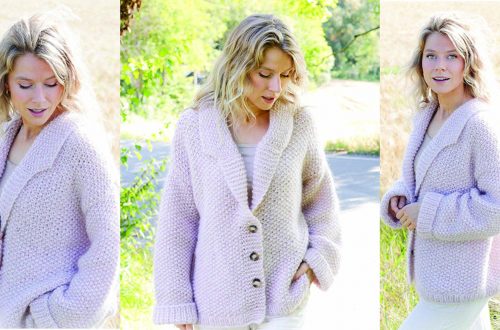
I wear my hat on both sides, depending on my mood. Sometimes I get in the car with a blue hat, but I get out of it with a lovely pink beanie on my head.
Beanie is designed for a head with a circumference of 57 cm.
The work requires:
- 3 mm 5 knitting needles for socks, 3 mm cord needles 40 cm (optional)
- I use yarn 75% acrylic, 15% wool, 10% mohair, 100g / 380m
- crochet hook or large needle, for finishing your work
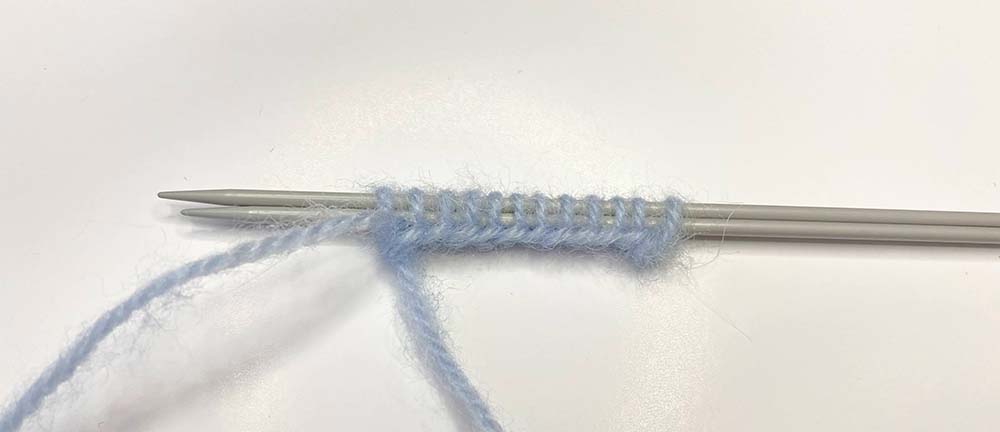
Take 12 stitches on two needles. I recommend leaving a 10 – 13 cm long thread, which will be useful at the end to close the top of the hat.
Divide the stitches onto 4 needles. So that there are 3 stitches on each.
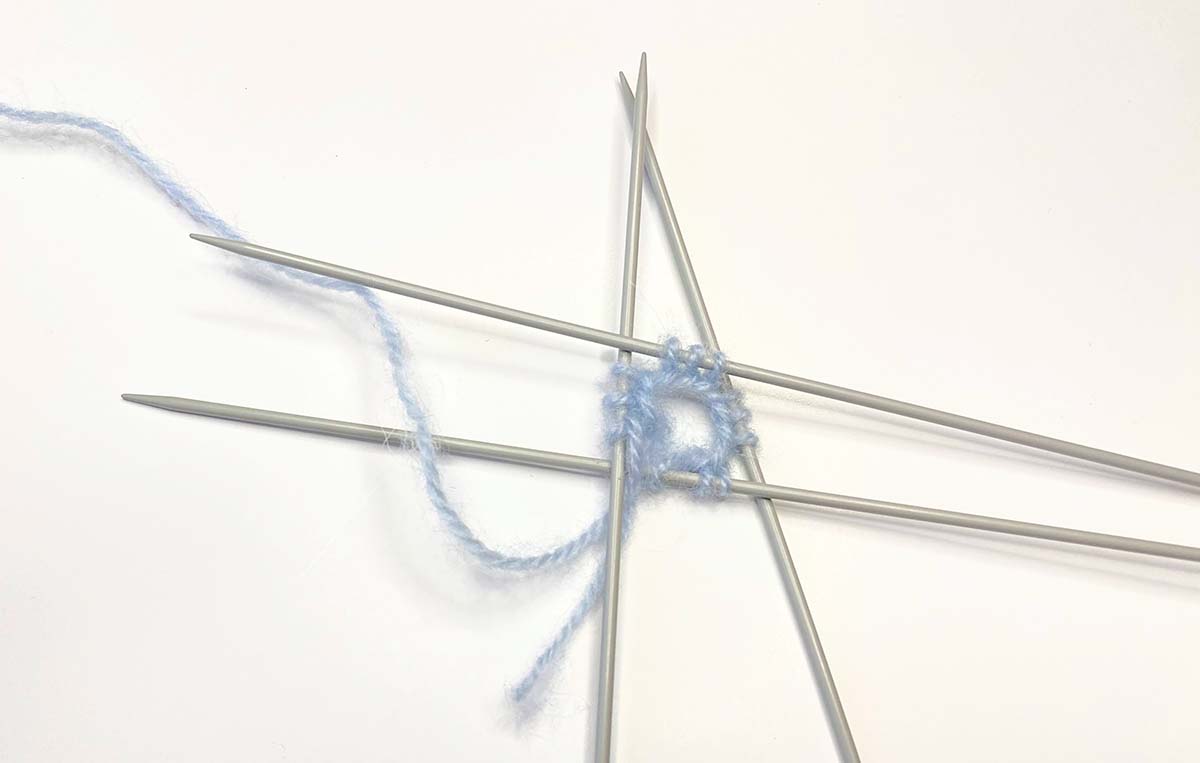
Next, I mark the middle stitch on each needle.
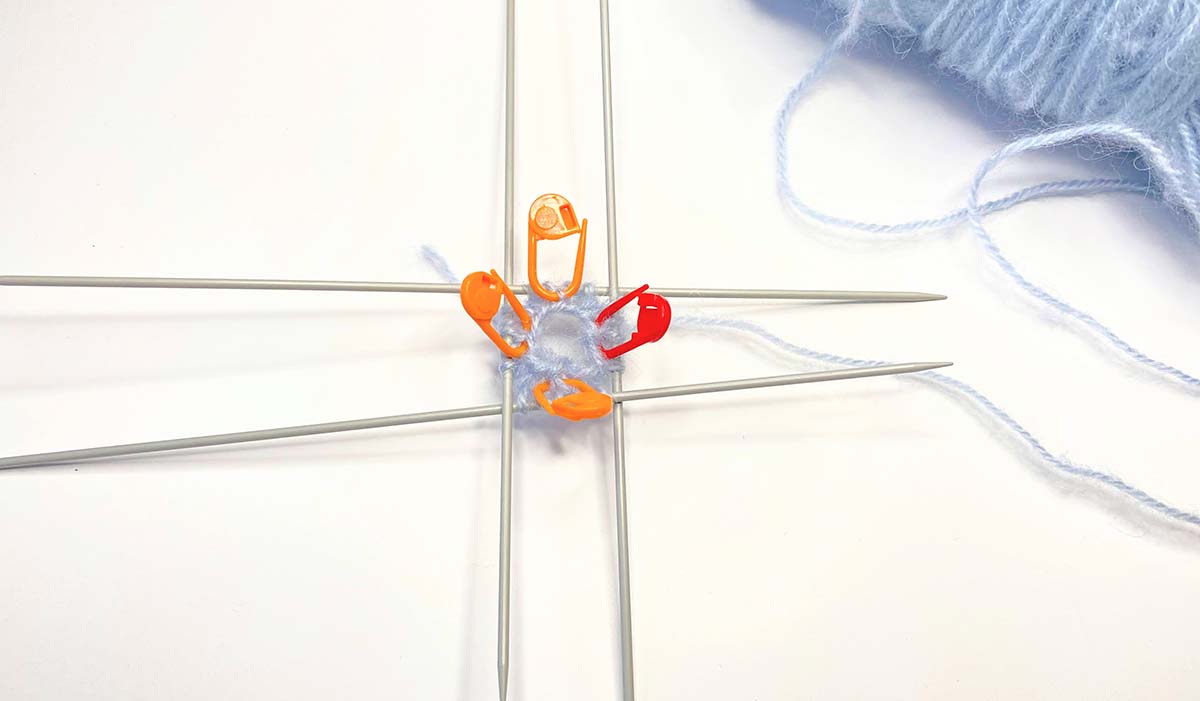
Start knitting the first row and cast on new stitch on each side of the stitches marked.
Knit the second row without adding new stitches.
Next, on each needle, add new stitches.
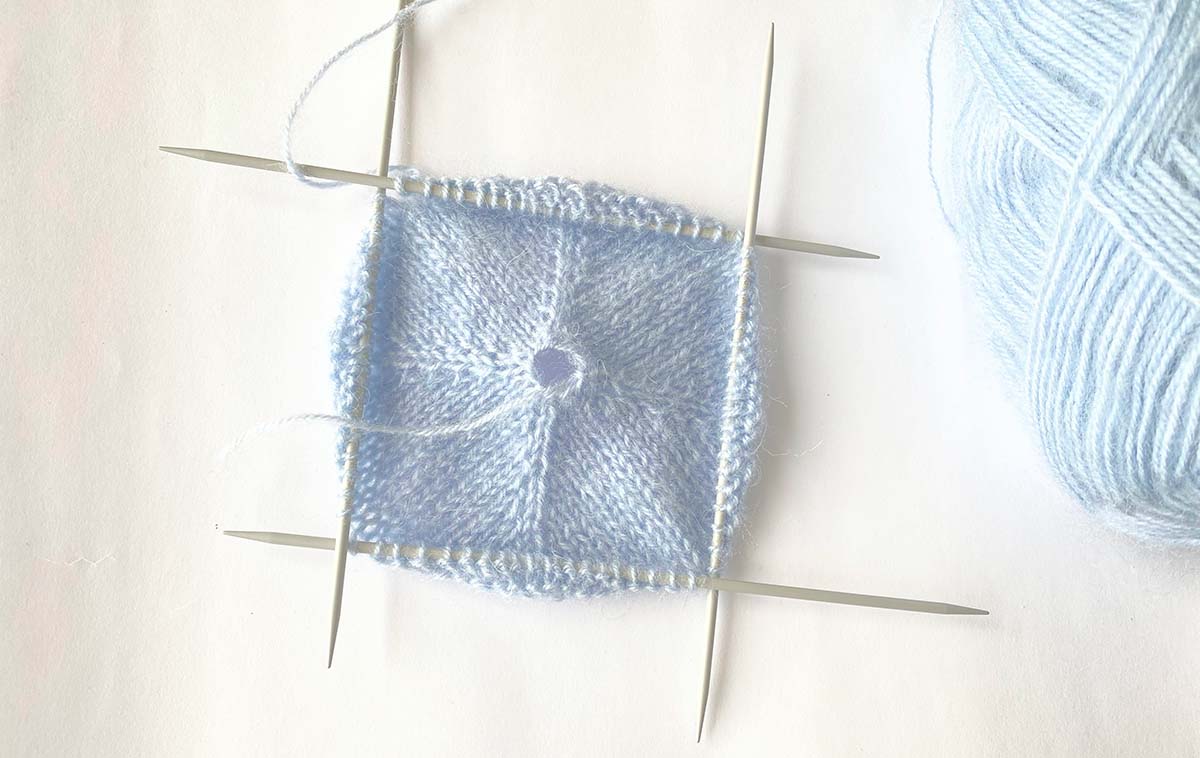
In every second row add new stiches until there are 23 stitches on each needle, a total of 92 stitches.
Then continue to knit in the circle without increasing the stitches.
I switched to 3 mm – 40 cm bow needles because it is much faster and easier. But if you do not have them, keep knitting with sock needles.
Without increasing knit approximately 18 cm and then switch to another color.
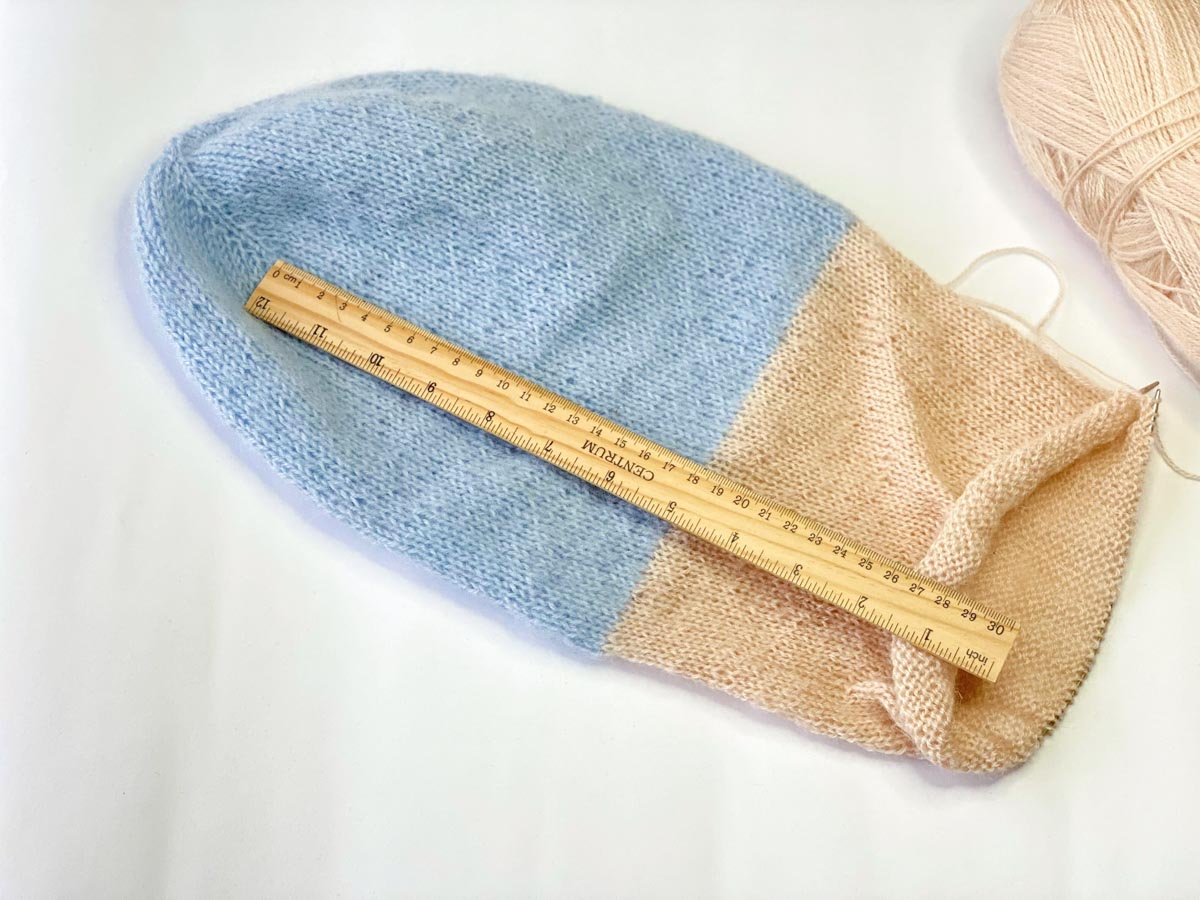
Knit second color 18 cm.
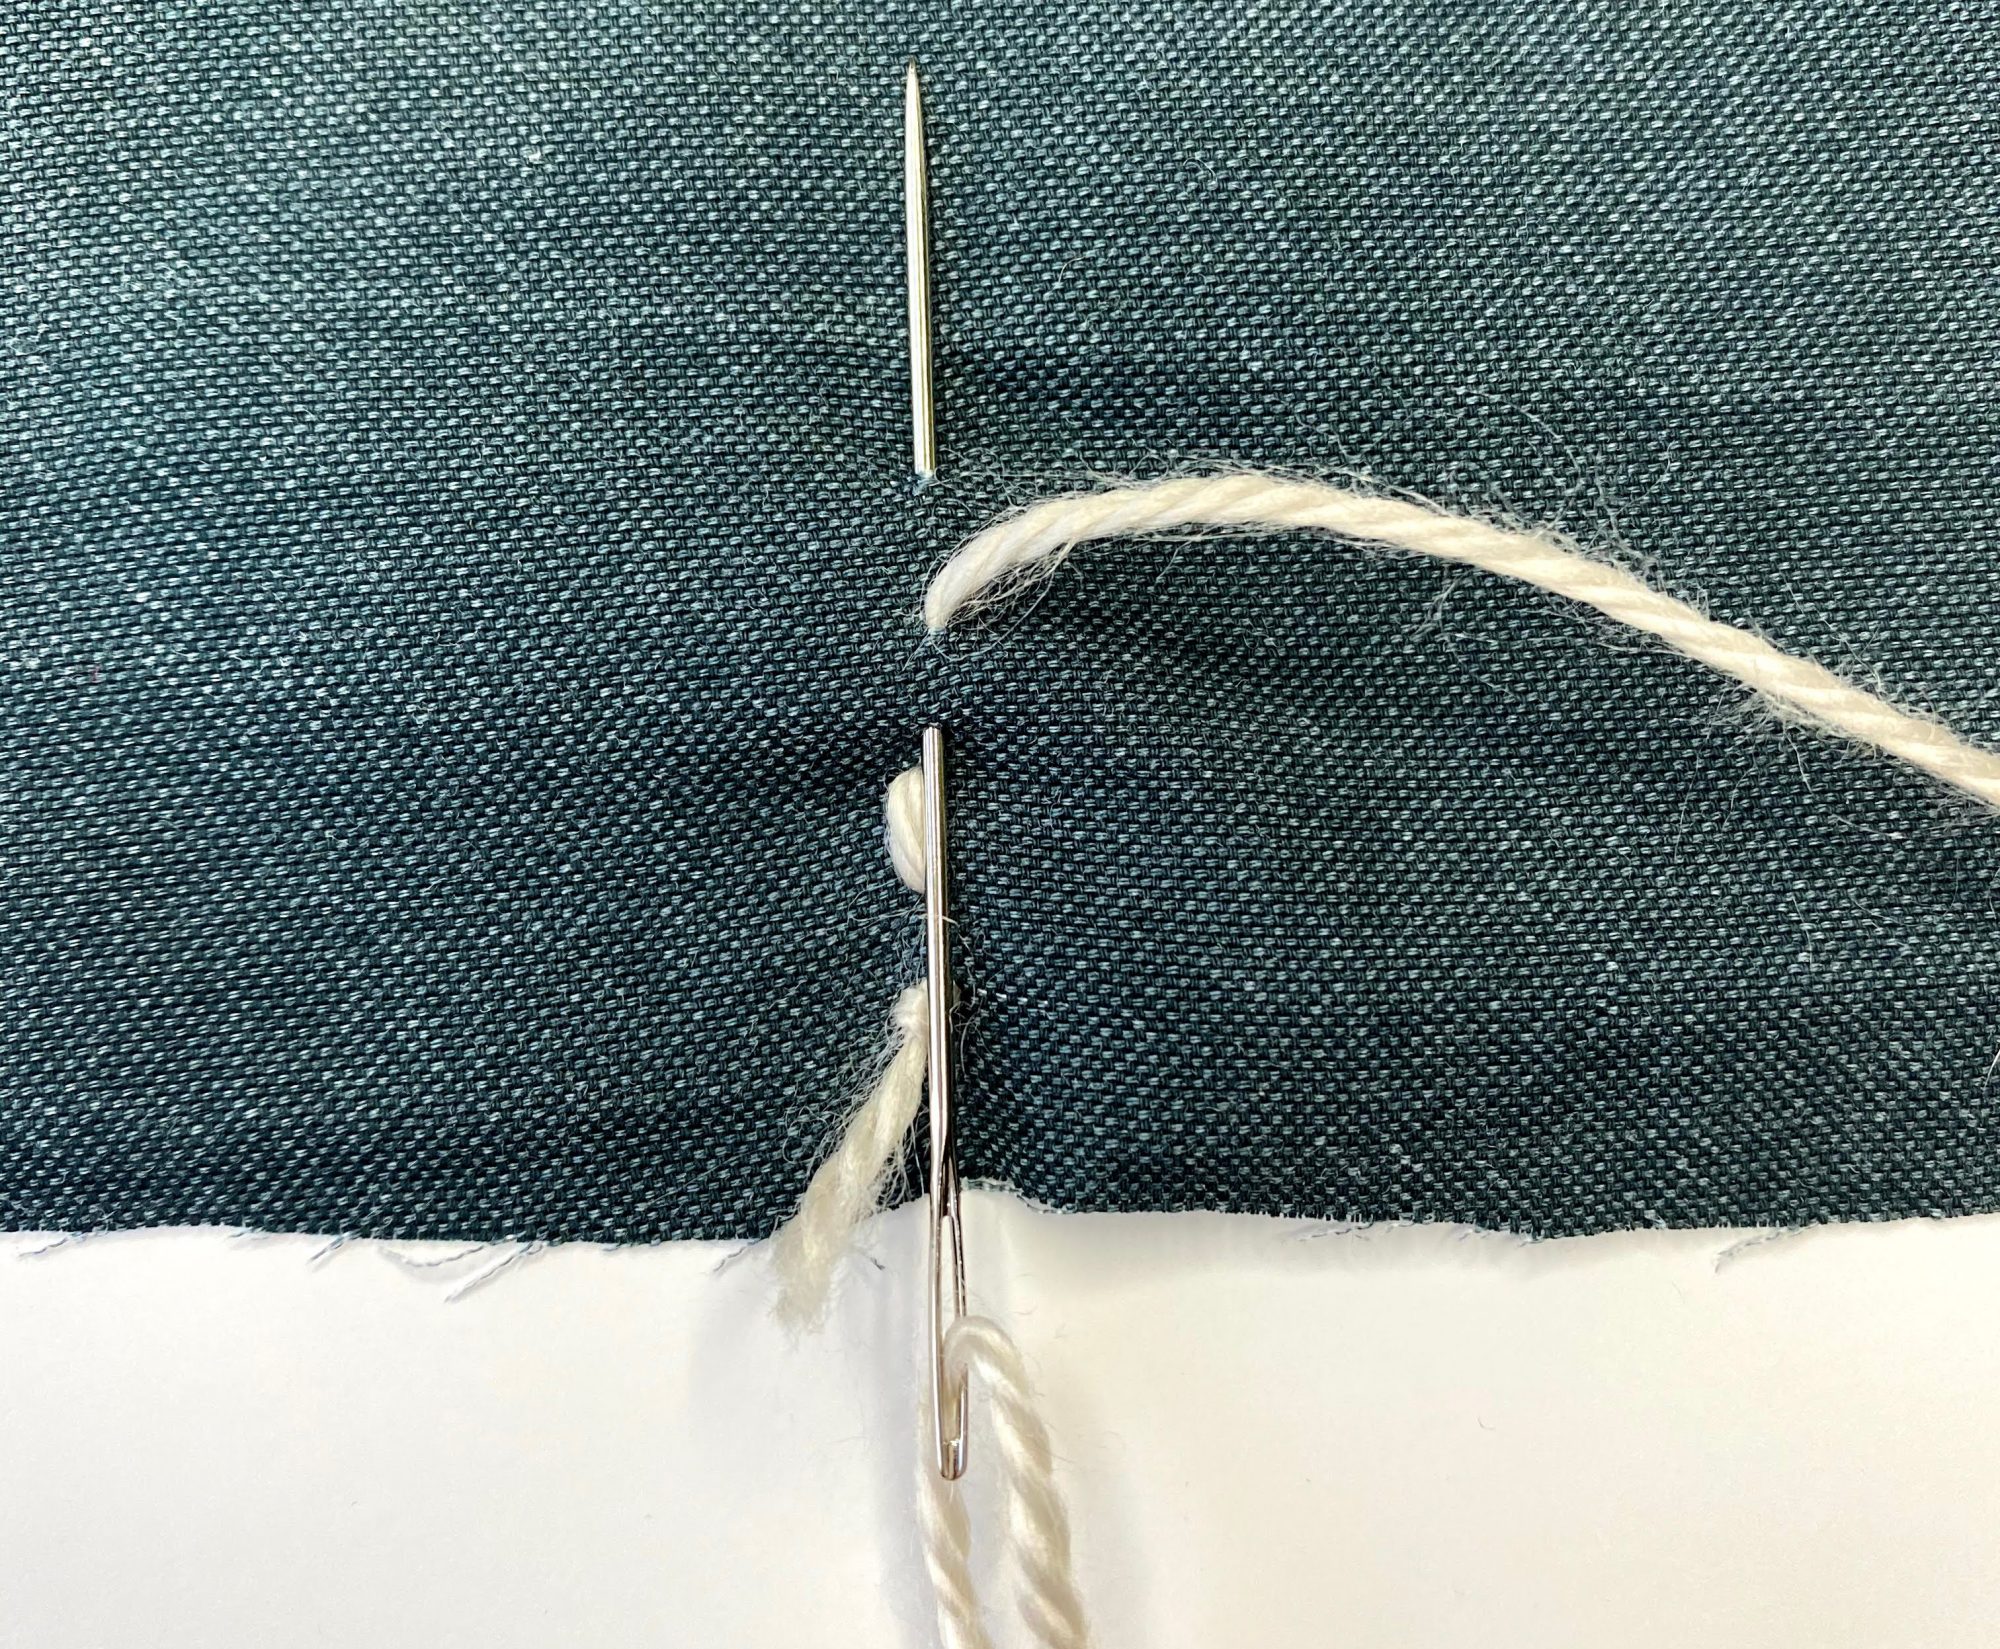
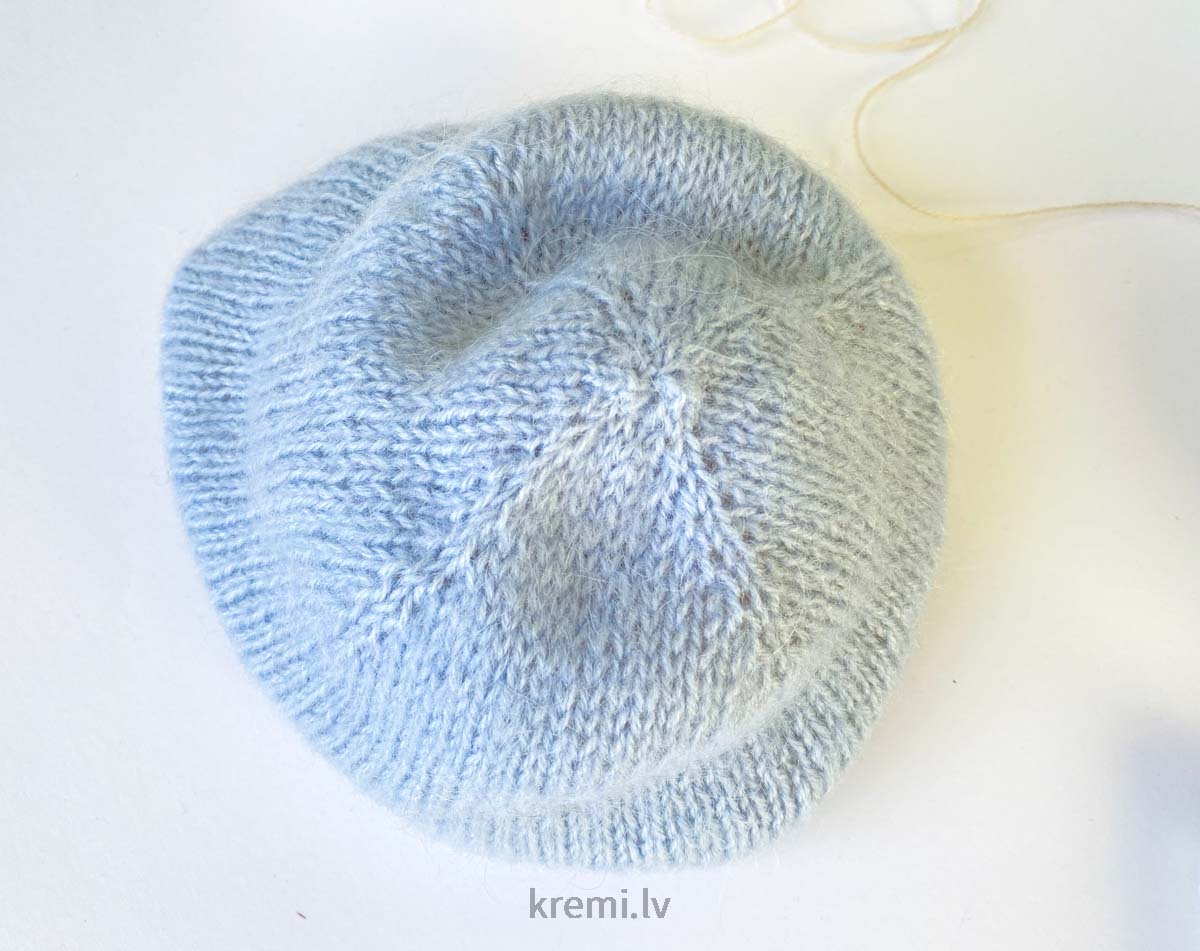
At this point it is necessary to close the hole that formed when starting to knit a hat. It is convenient if you leave a long enough end of the thread at the beginning. It can be drawn in a circle and tightened.
When the required length of the second color is knitted, we will start to shrink knitting.
Make a mark on each 23. stitch. There must be 4 marked stitches in total.
Now you have to knit 2 stitches to the marked stitch – 3 stitches need to be knit together. In order to get a nice stripe, at the place of combining 3 stiches, the stitches should be folded so that the one we marked is always on top.
Pleas check my Instagram Reel video, where I show how to knit together 3 stiches.
Knit 3 together in every SECOND ROW.
This way reduce the number of stitches while there are 12 stitches left.
Cut the thread, pull through remaining stitches, tightened and fasten.
My hat is:
- 26 cm high
- 23.5 cm width
This beanie will be warm if you do not wear it too tight.
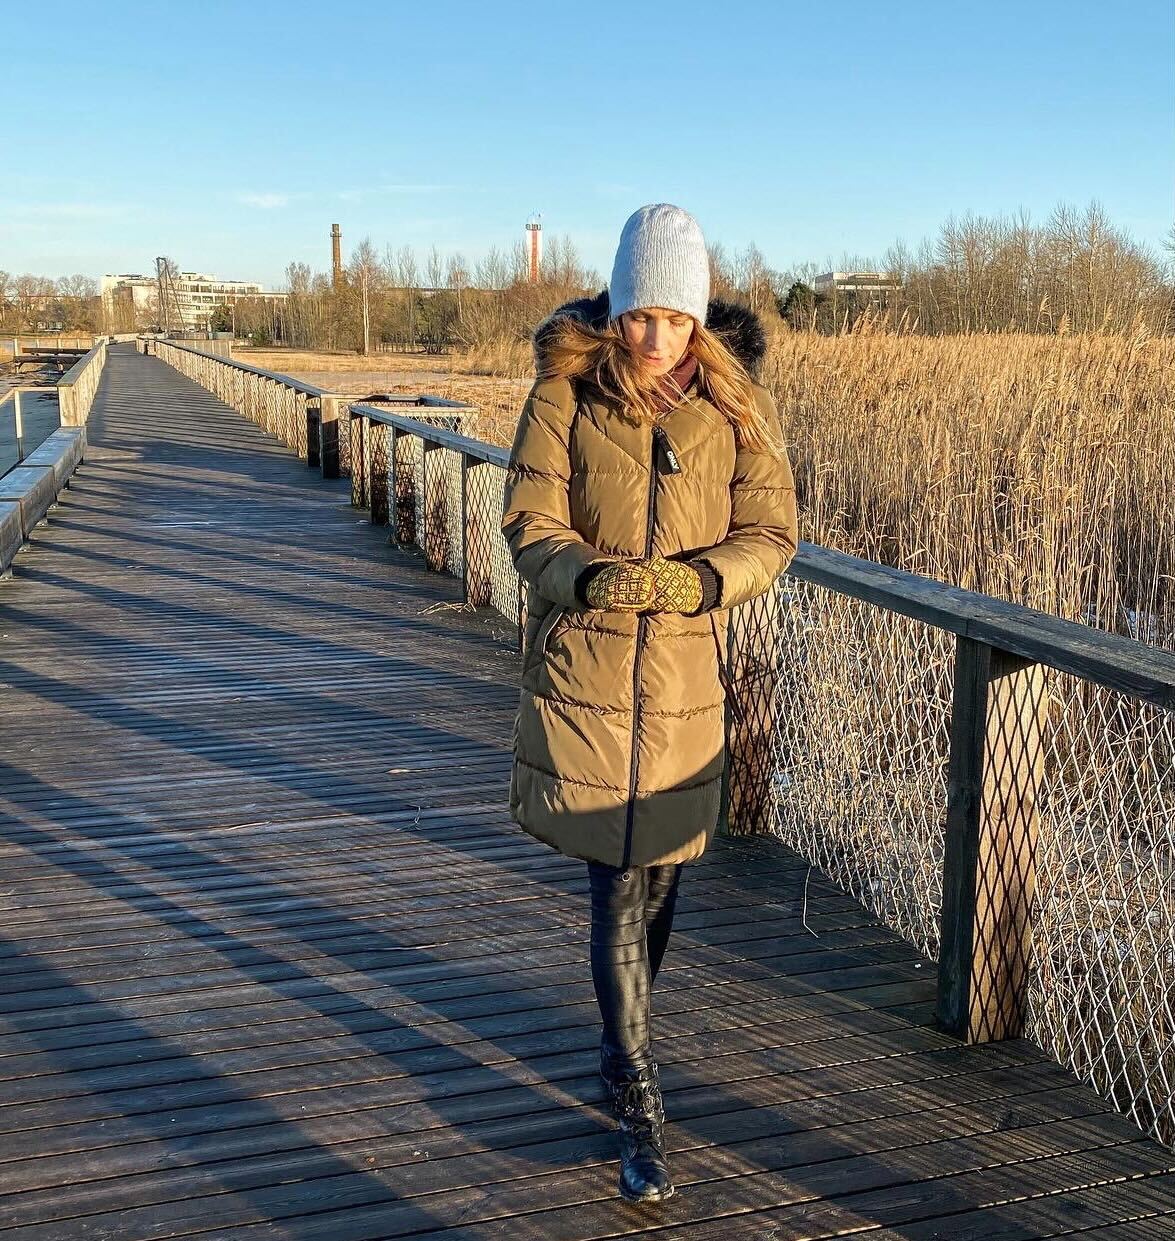
Here I am with my hat, walking around the Estonian reeds. 🙂
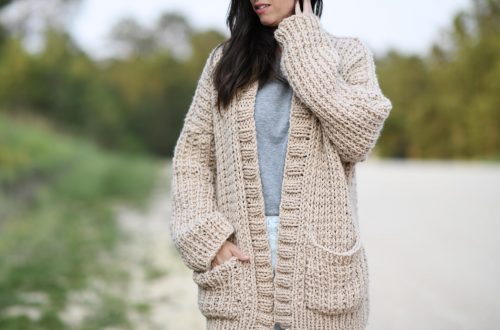
If you liked this short and easy hat knit tutorial then check out my beany sewing lesson – How to sew a beanie hat from old sweater
And here you can check all my tutorials that I have in English