How to knit a hat beginners tutorial
In my opinion, this is the easiest and fastest way to knit a hat. No special skills are required to knit this type of hat. Since it doesn’t have a pattern or braid, it doesn’t take much time and skills to knit. In my opinion this is great beginner knitting project.
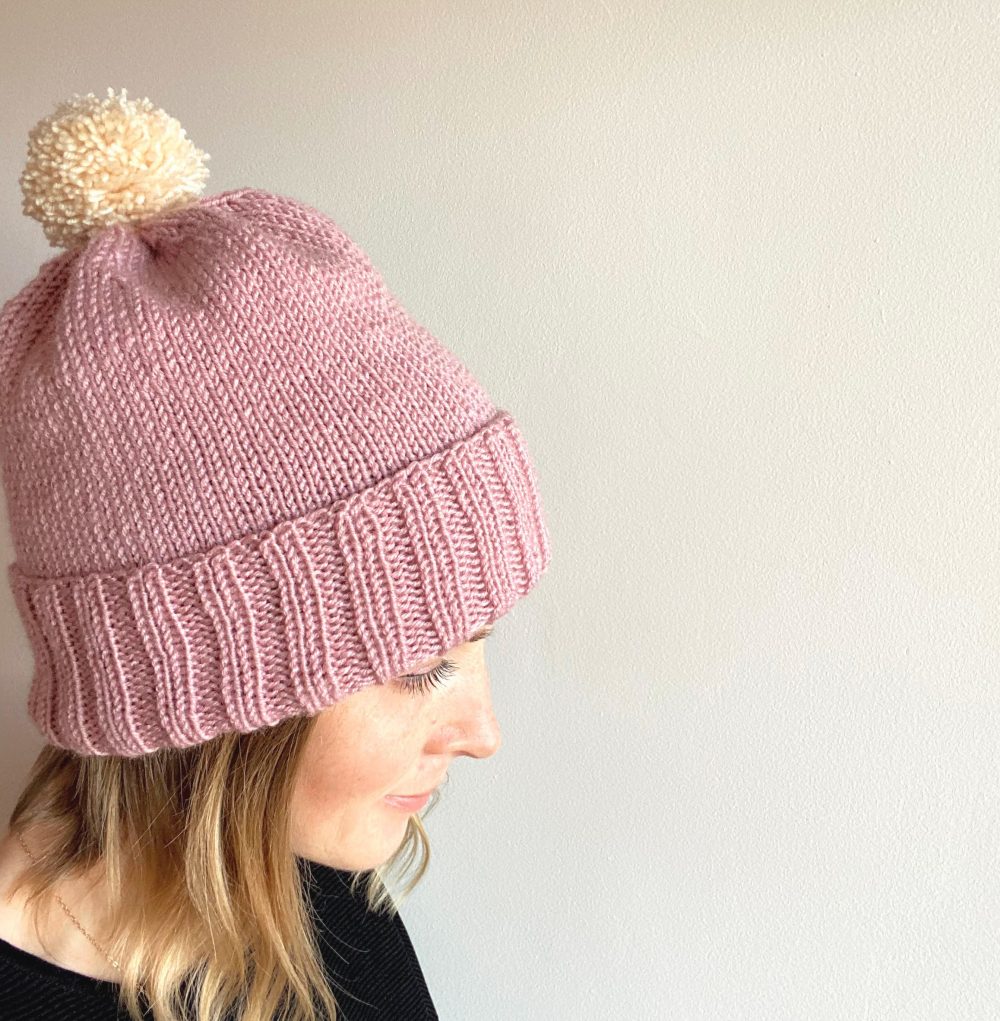
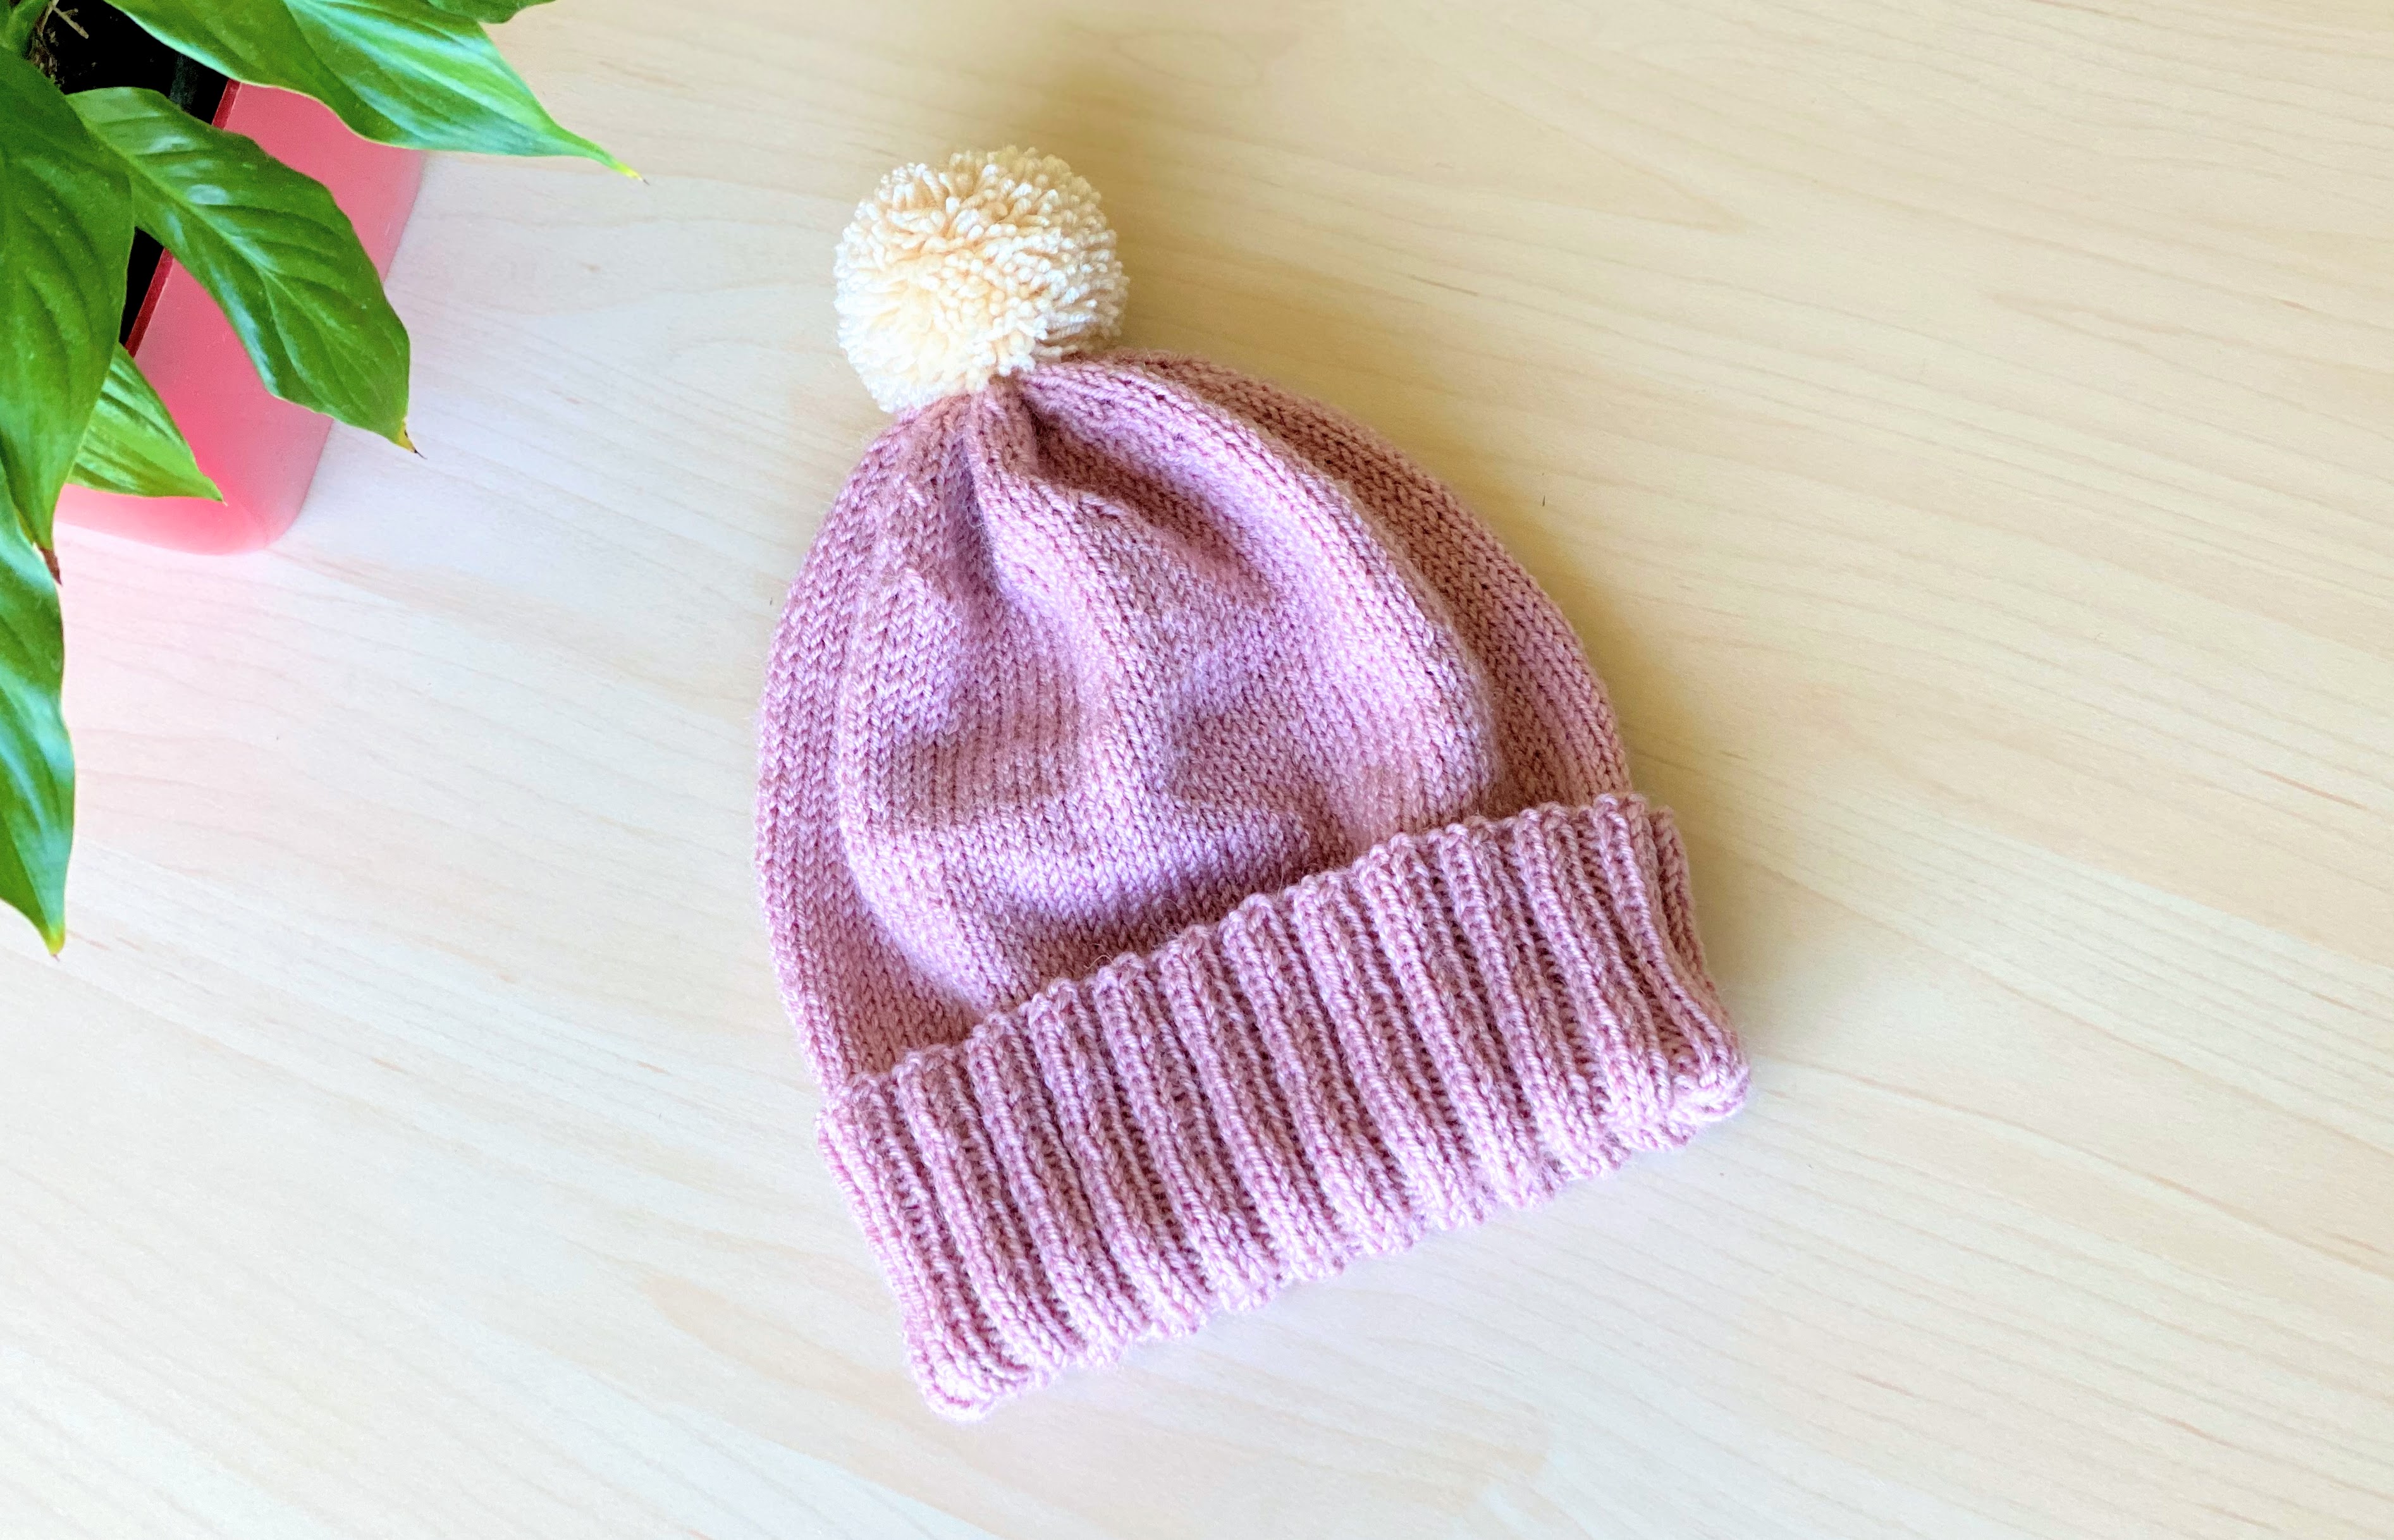
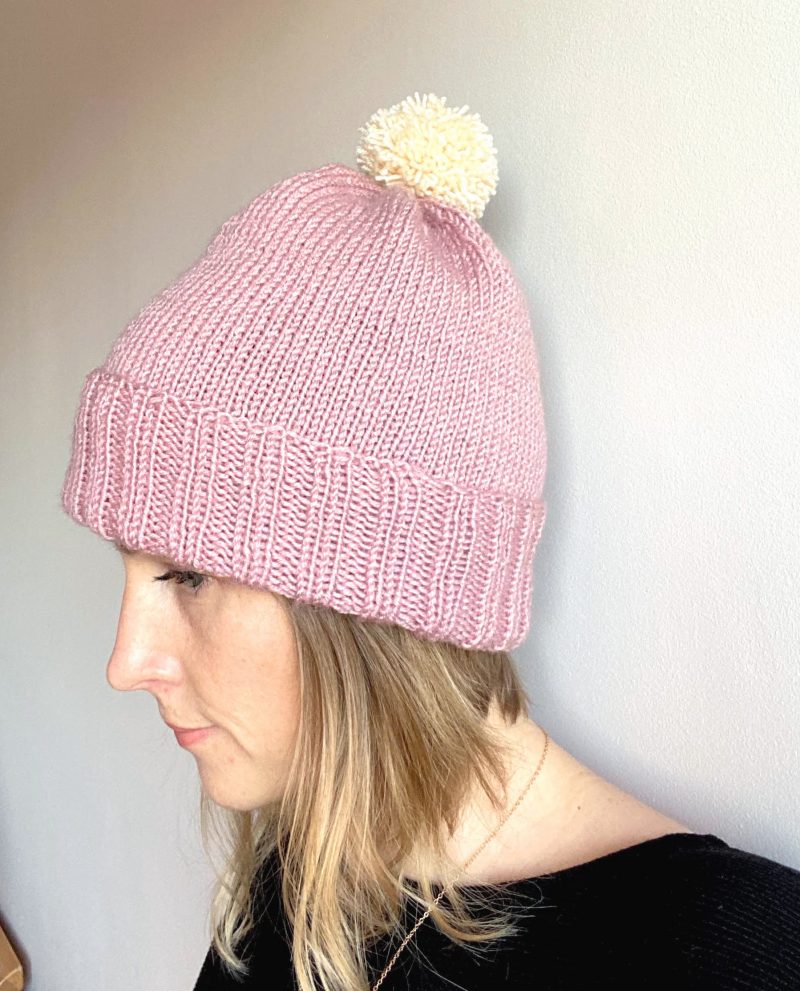
Such a classic hat with a folded edge and a bob is practical and always stylish.
I’ve tried different options and this one works the best for me. When making a hat, the biggest mistakes that can be made are to knit the bottom of the hat too tight or loose, or to knit the hat too shallow or vice versa too deep. This hat is also knitted in a circle and so it will not have a seam on the nape of the neck.
If you want to knit a hat with braids, then, unfortunately, this tutorial will not work, because the number of stitches will be no enough and the hat itself will be too small.
This hat is medium in size, it is suitable for a head with a circumference of 57 cm.
The work requires:
- 3 mm size needles I use 44 cm bow needles but can use 5 sock needles of the same size
- 100 g of yarn, I use a mixture of 80% acrylic and 20% wool, but you can also use pure acrylic yarn
- crochet hook or torch pin.
If there are no needles on the bow or sock knitting needles, two long needles can also be used. In this case, two more stitches must be added when picking up the stitches – the seams court. In this case hat will be knitted in a lined way and in the end it will have to be sewn together.
The course of knitting a hat
This method is easy because you do not have to count rows when doing hats body part.
Cast on 96 stitches.
12 cm – knit 2 knit stitch, 2 purl stitch.
Then 13 cm knit stitch.
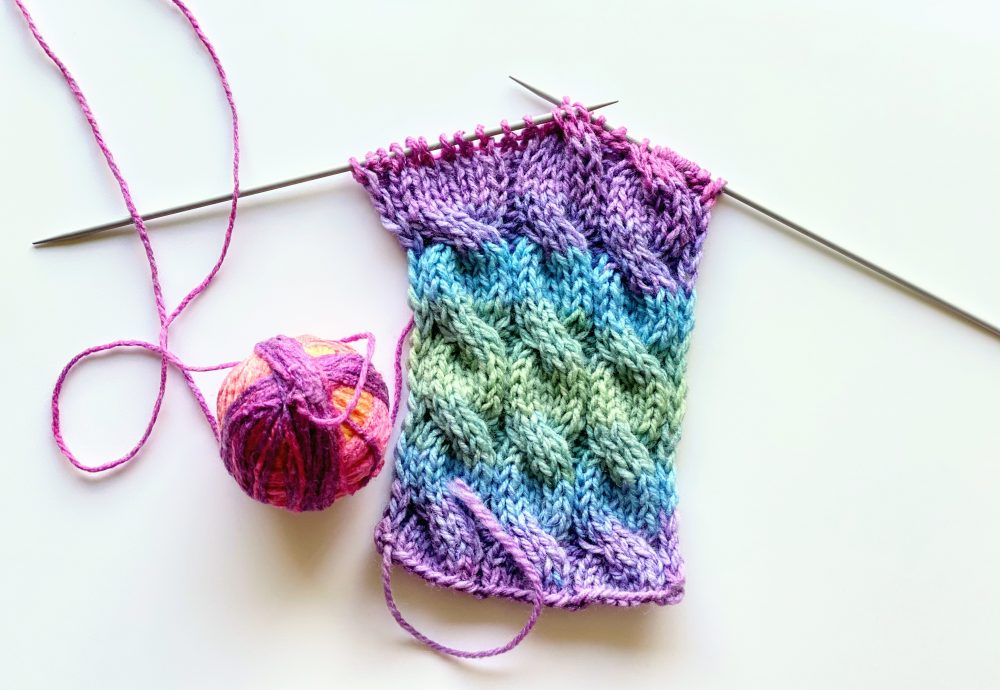
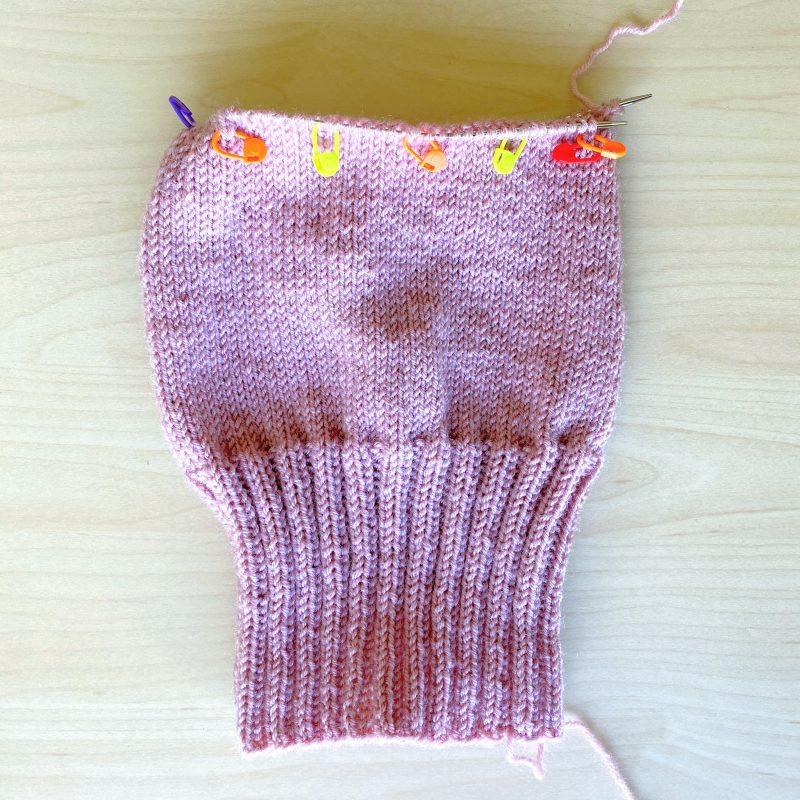
Mark every 8 stitches. I use special marks used for knitting, but you can use paper clips or peaces of thread instead. These marks are necessary because now the hat will be narrowed by knitting stitches together. As you can see in the picture, I have marked the beginning of a new line with two marks (red, orange). Based on this mark, you will know when to finish stitching together, as well as knitting several rows, I will know with which stitch to start new stitching together.
Once the tags are in, we can start decrease. Knit together first two stitches, then knit to the next mark – knit the marked stitch together with the next stitch next to it.
Knit 4 rows.
Based on the previous marks, knit 2 stitches together and knit 6 stitches – repeat until the whole circle is knitted.

Knit 3 rows.
Repeat knighting together stitches. Knit 2 stitches together, knit 5 and knit two together again. Repeat. Continue until the full circle is knitted.
Knit 2 rows.
Using a crochet hook or torch pin, tighten the remaining stitches on a piece of wool thread about 20 cm long, tighten and tie tightly.
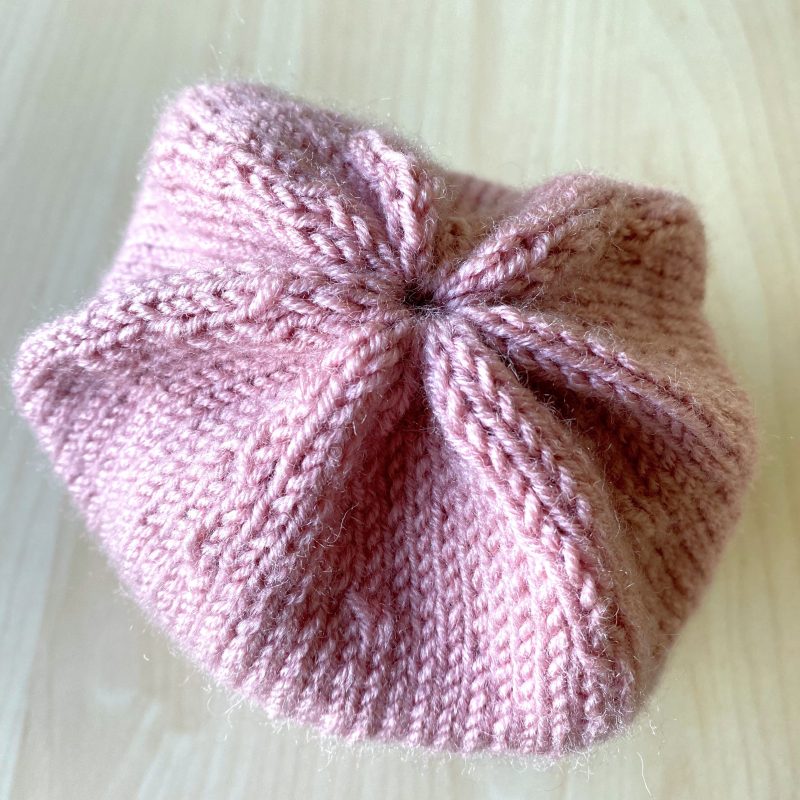
Fasten the thread at the top of the hat. Cut all the thread ends shorter and thread in hat so that they are not visible.

Finally make pom-pom and sew it tightly to the top of the hat.
If you liked this easy tutorial go and check out another beanie hat tutorial that I made – How to sew a beanie hat from old sweater