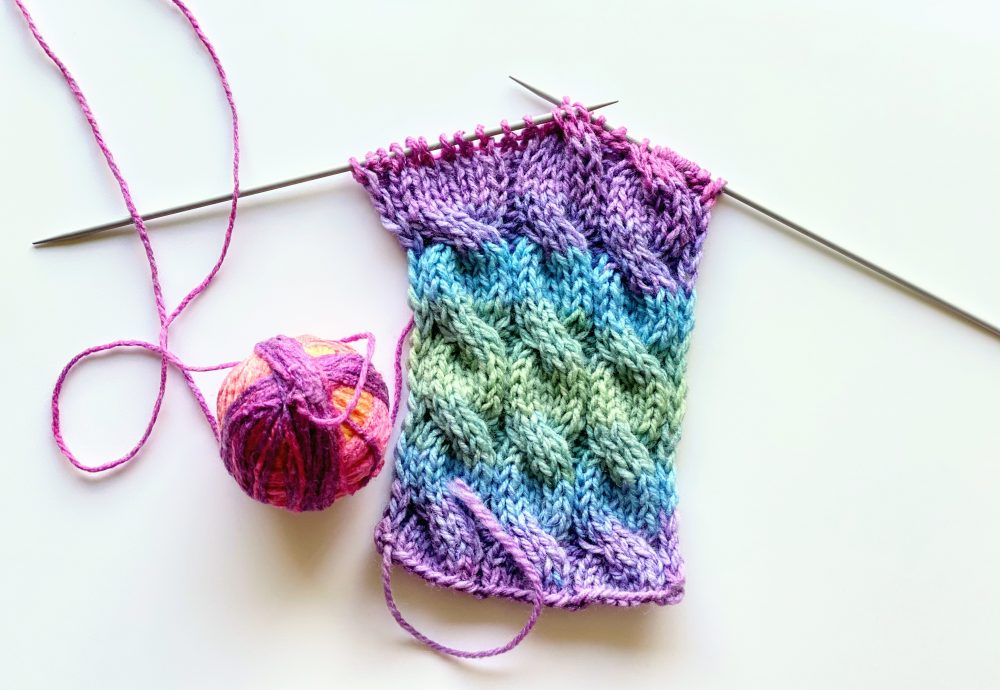
How to Knit Cable Braids for Beginners
Knitted braids are a beautiful adornment for jackets, scarves, hats, socks, gloves and scarves. There are different types of knitted braids.
If you are learning to knit the basics of braids, then you only need a little imagination to create your own braid variation.
Two ordinary needles are enough for knitting braids. But if you want you can use a third needle or a special curved needle. I will show knitting technique with two needles and curved needle.

Basics of braid knitting
Before we get started there are some useful tips to know:
- braid cables are always knit with knit stich
- the braid cables consists of an even number of stitches (2, 4, 6 …).
- to make the cable braid stand out, it is always separated from the rest of the knit with purl stitches. The wider the braid, the more purl stitches on its edges.
Cable braid knitting
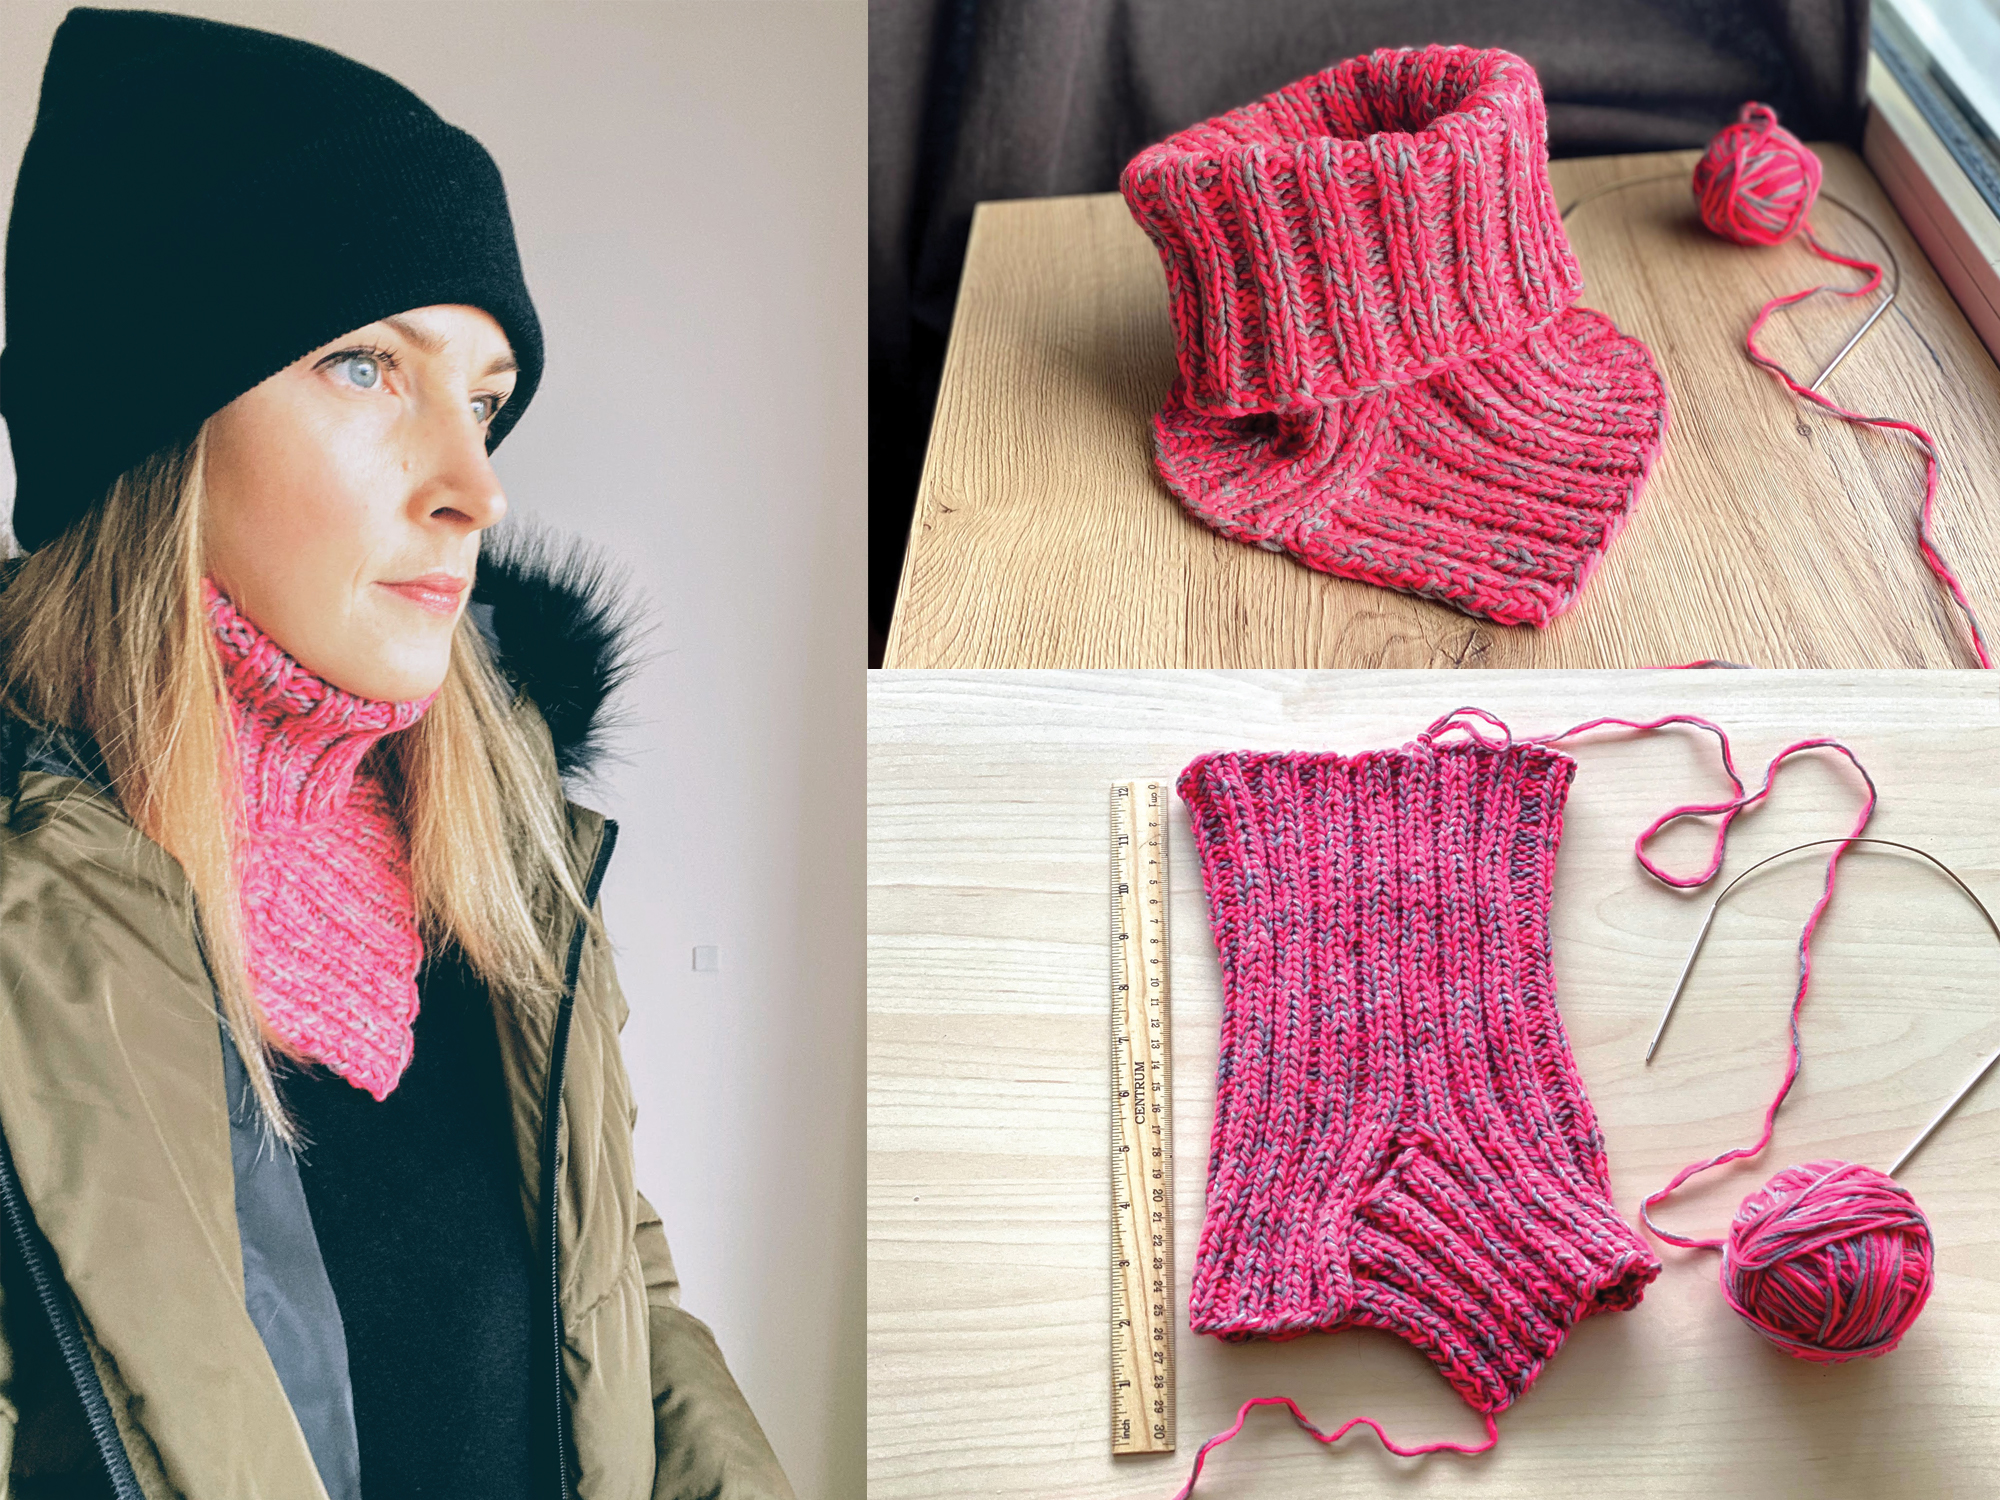
If you want to repeat the pattern knitted in this tutorial, then I use ordinary acrylic yarn and 3 mm needles. I think if you just want to try and follow my step by step tutorial any yarn and needles will fit.
I have 36 stitches in the pattern. Two stitches will be on the sides.
First stitch will be side stich and in each beginning of the row we will take it to the right needle without knitting.
Knit 2 purl, 6 knit and repeat until the end of row.
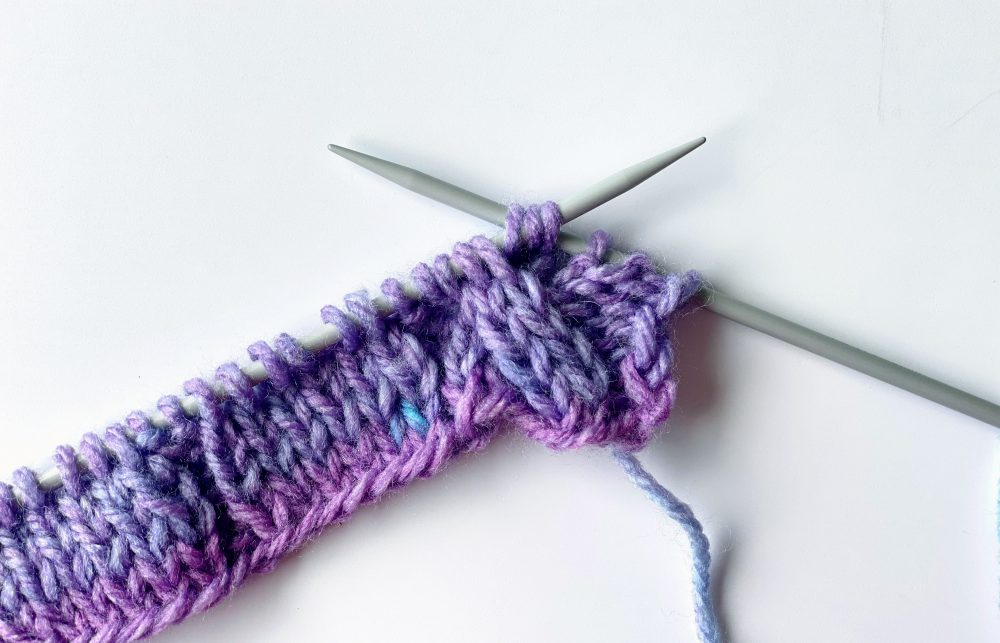
I knitted 5 rows for the body of the cable, as shown in the following picture.
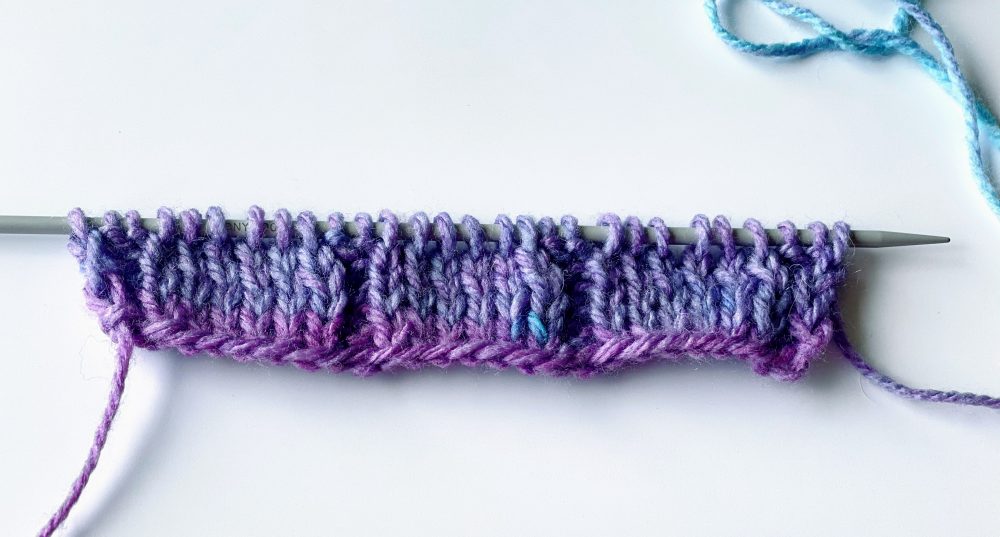
It is easier if cable crossing will be on the knit stich side.
Now knit 1 stitch and purl knit next 2.
Now we will switch places 3 x 3 stiches and make cable crossing.
Remove the next 3 stitches from the left needle and with right hand needle take 3 stiches from left hand. Shown in the following picture.
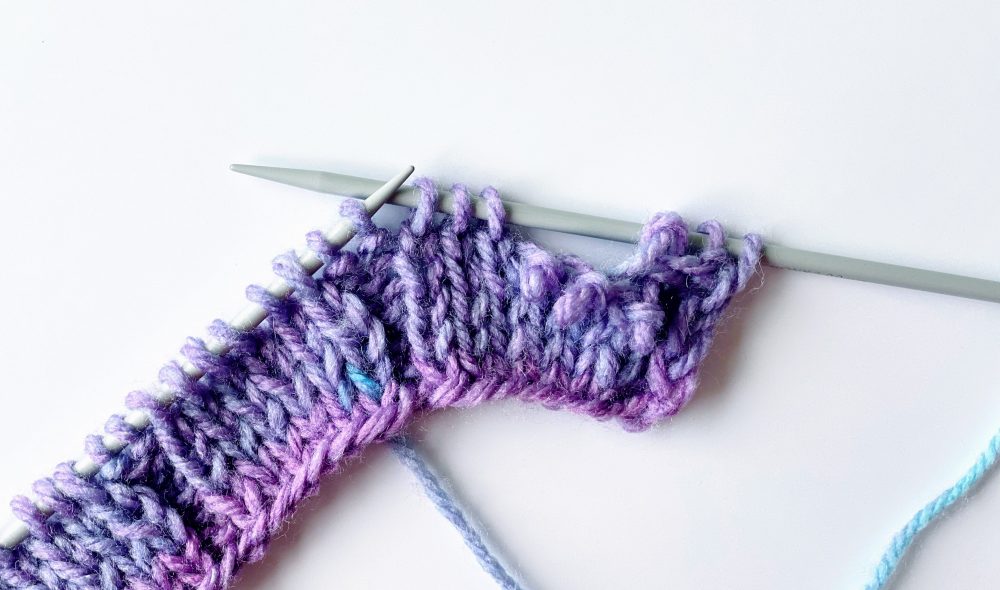
Take 3 loose stiches back on the left needle. Image below.
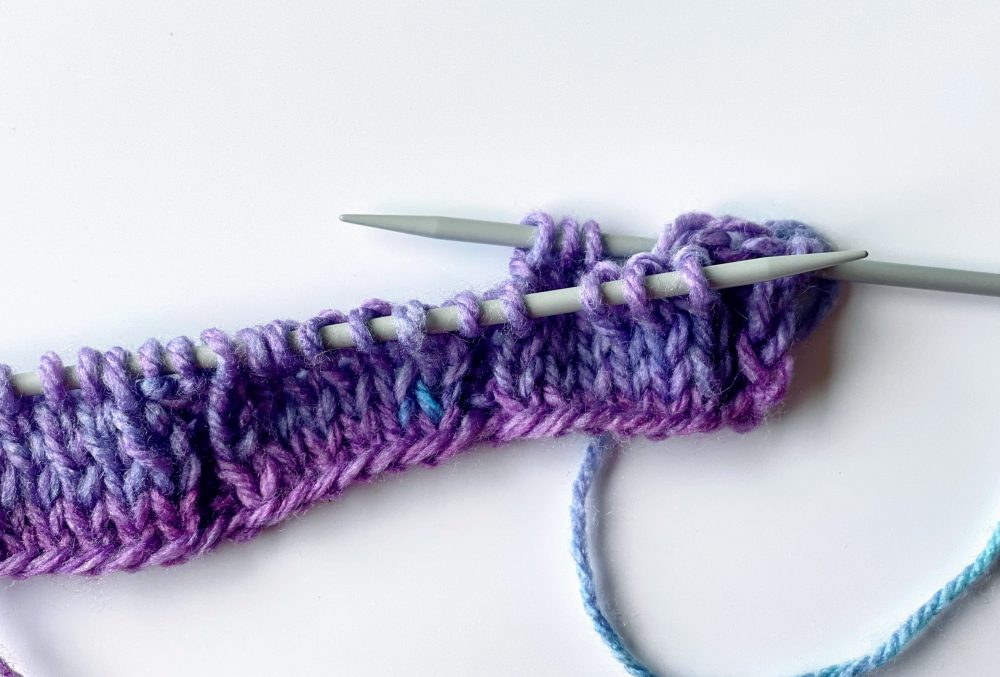
Then cast on 3 stitches from the right needle back to the left needle. Image below.
When the stitches are crossed knit over them like normal.
When crossing a cable braid, remember to always cross to one side. In my case, the first stitches always go over, or are crossed in front.
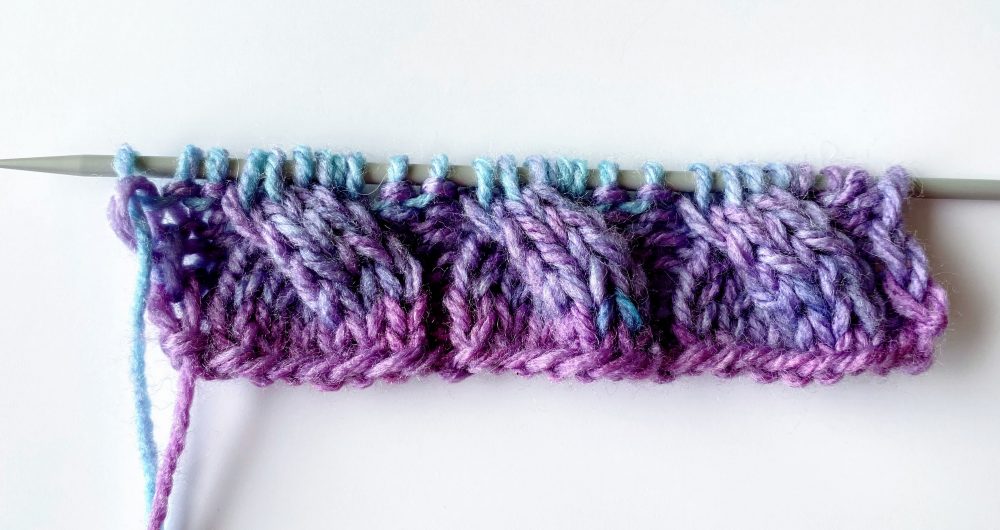
This is what it looks like when the stitches are crossed and perfectly knitted.
Next we knit 7 rows, not counting the row we knitted when we just crossed the stitches.
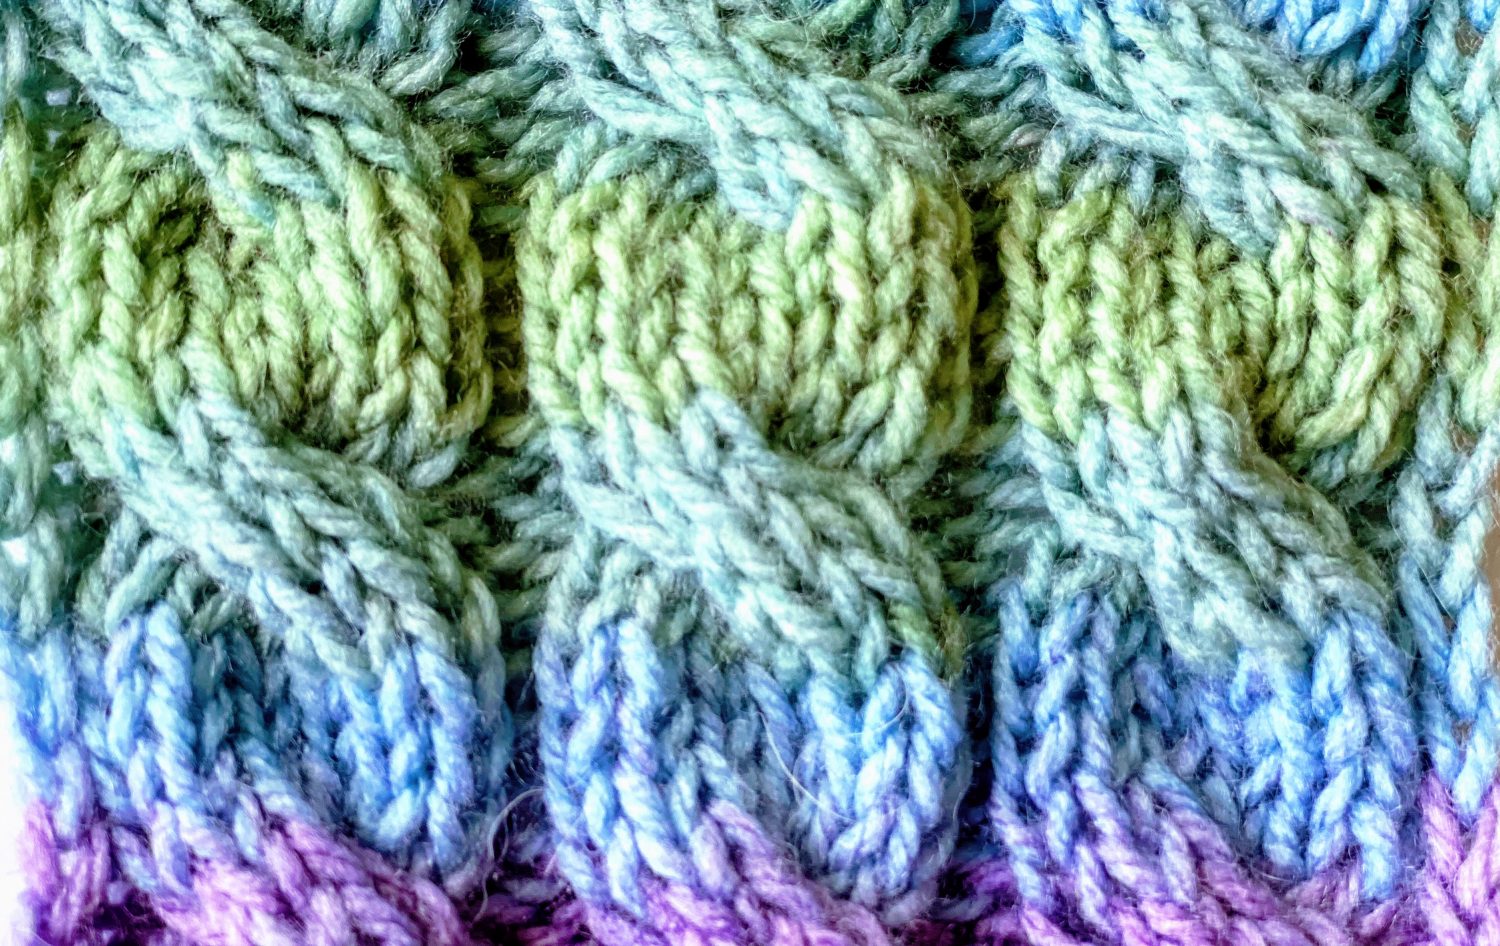
When knitting a cable braid to make it beautiful and soft, you need to knit as many rows between the intersections as there are stitches for the braid itself and a few more rows. If the braids cross too fast then it looks forced and knit feels hard.
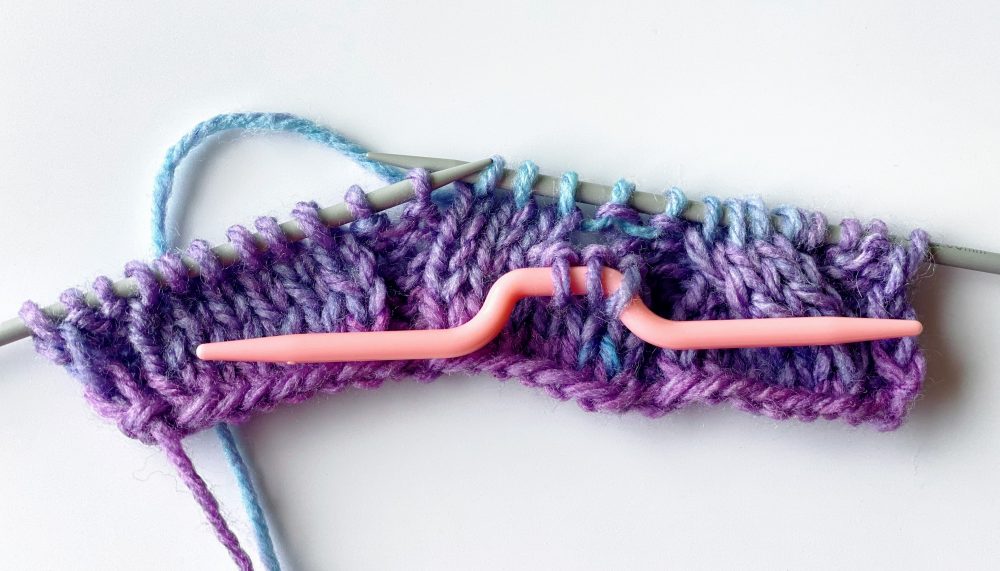
The second way to intersect the braids is handy when you need to intersect the braids with lot of stiches, such as 7 x 7 or 9 x 9.
A third needle or a special curved needle is used here. I will show an example with a curved needle.
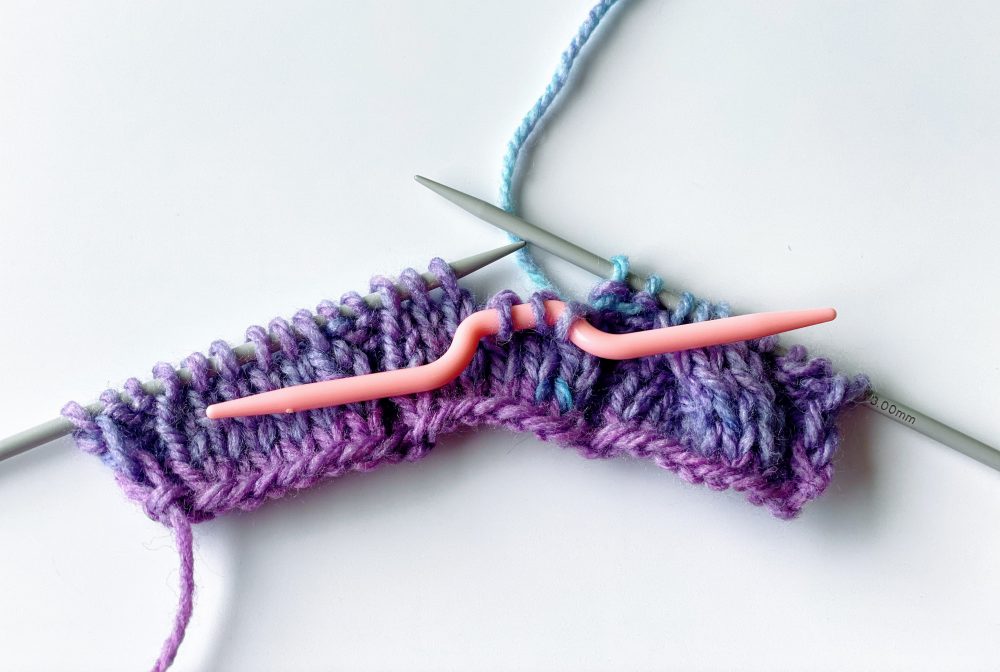
When using the third needle there is no need to change the stitches. Take the stitches that previously was left free on the third needle.
Then knit the next 3 stitches on the left needle.
Then knit 3 stitches on the extra needle. Use the same extra needle.
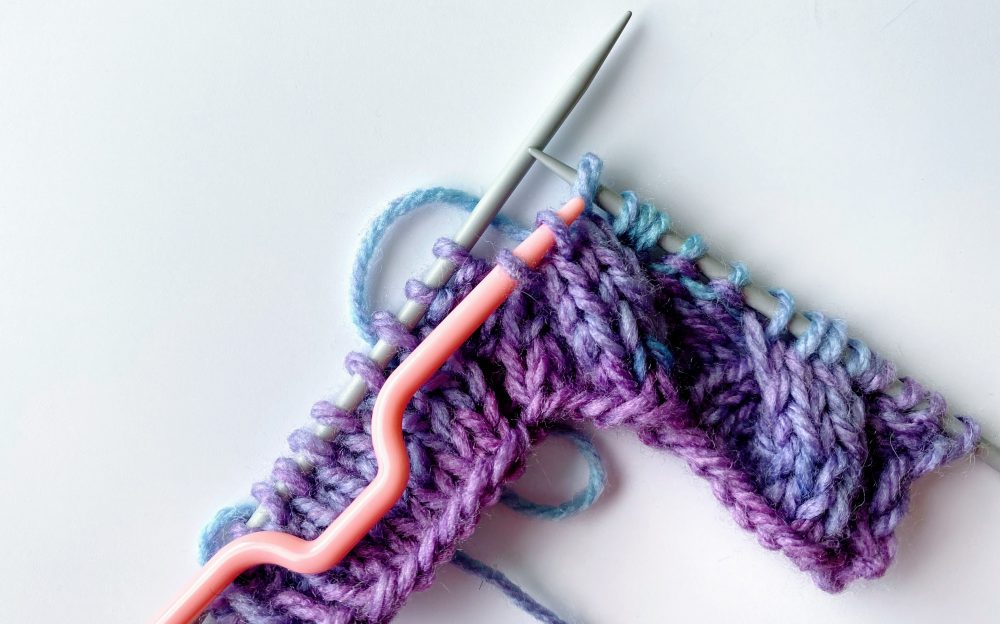
Here’s how to knit a cable braid with extra needle.
If you liked this easy tutorial you can take a look at another step by step tutorial on – How to sew a beanie hat from old sweater.