How to sew a beanie hat from old sweater
In this tutorial, I want to show you another, even simpler and faster way – to sew a hat. This time I will show you how to sew a hat by hand easily and quickly without using a sewing machine.
I sewed this hat in 30 minutes. Really fast don’t you think!
To sew this easy hat you will need:
- unnecessary sweater
- matched color thread
- sewing needle
- scissors, paper, pencil and some pins.
The hat is designed for a head circumference of 57 cm. This is a popular medium size. But if necessary, you can narrow or increase pattern cut accordingly. DOWNLOAD MY FREE BEANIE PATTERN.
I use a thin solid color sweater that is already worn out and has spent its time. Before I started sewing a hat from it, I washed the it and removed lint part from which I would sew the hat.
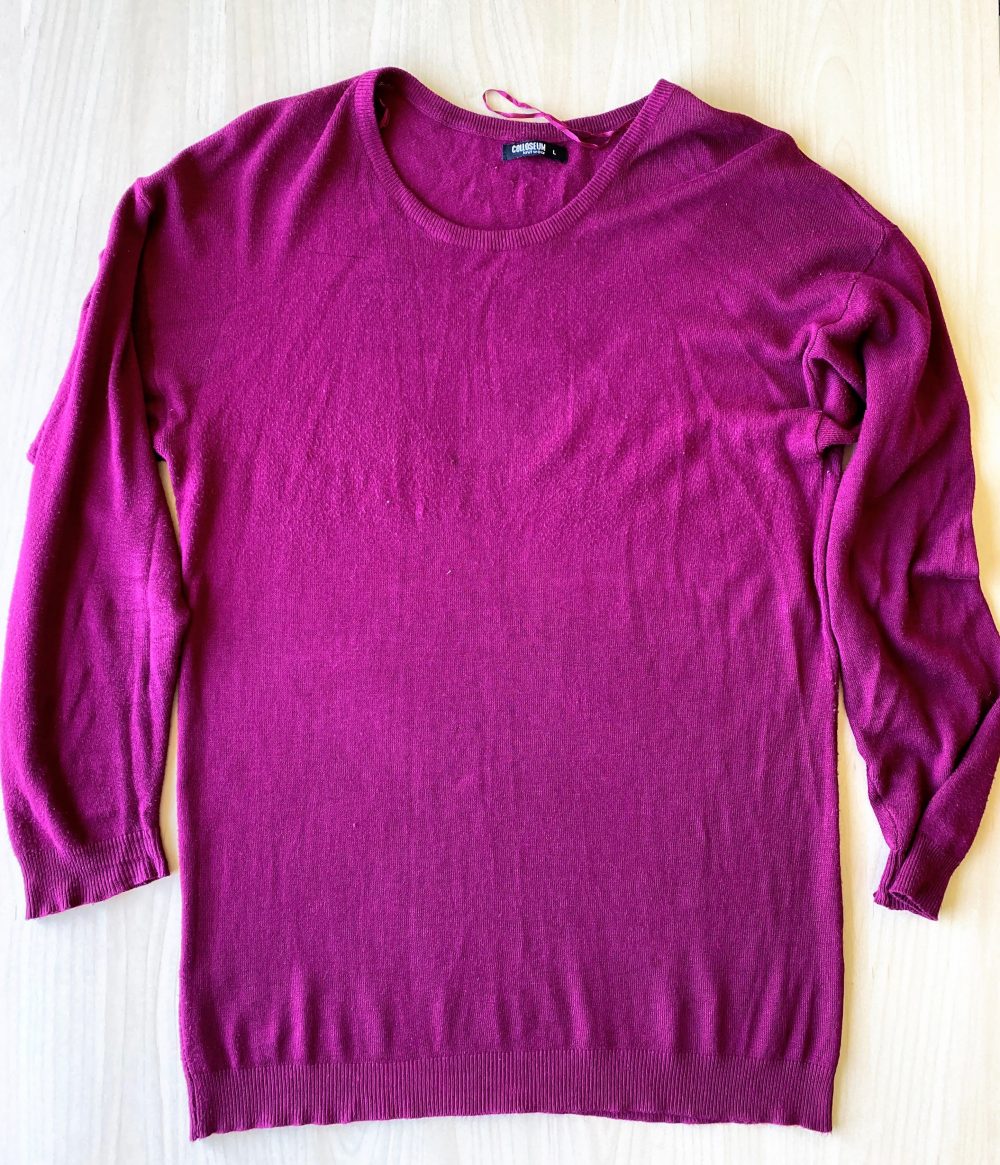
If necessary, lightly iron your sweater through a damp cloth.
Turn it in side out and fold it, as shown in the following figure.
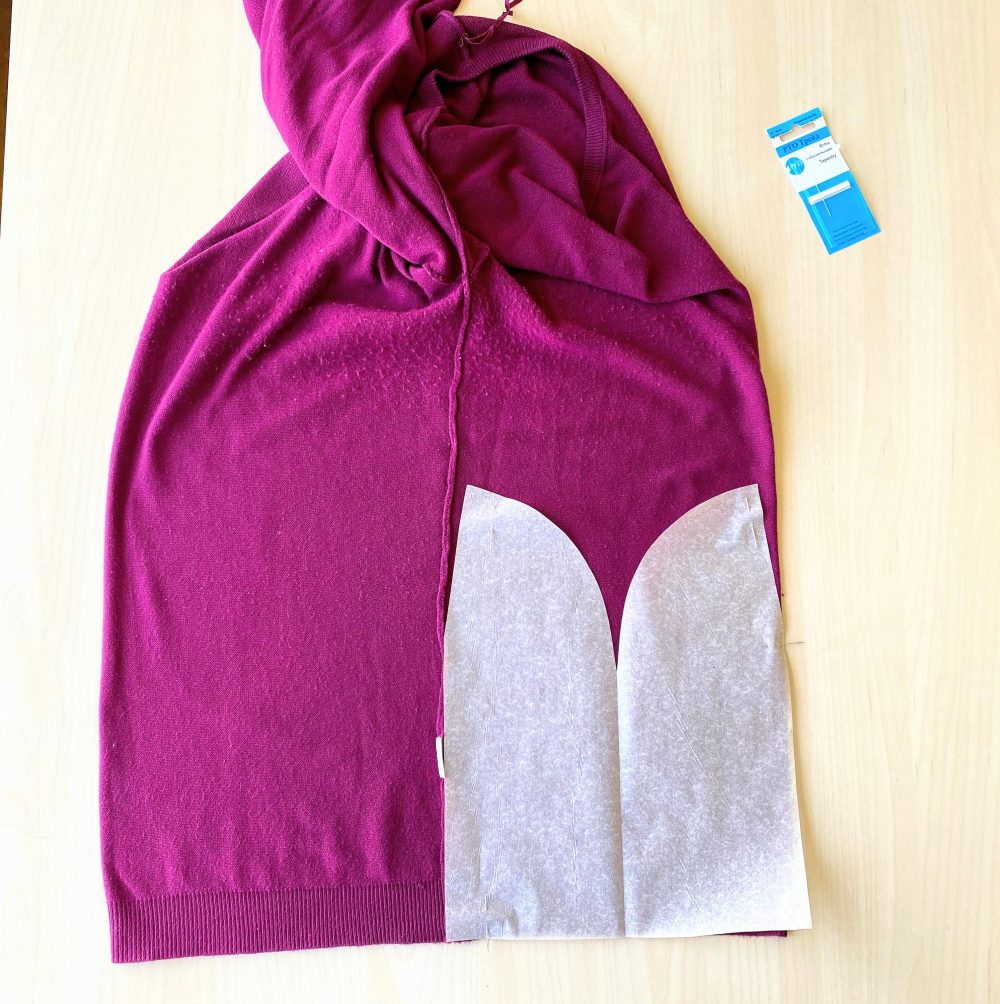
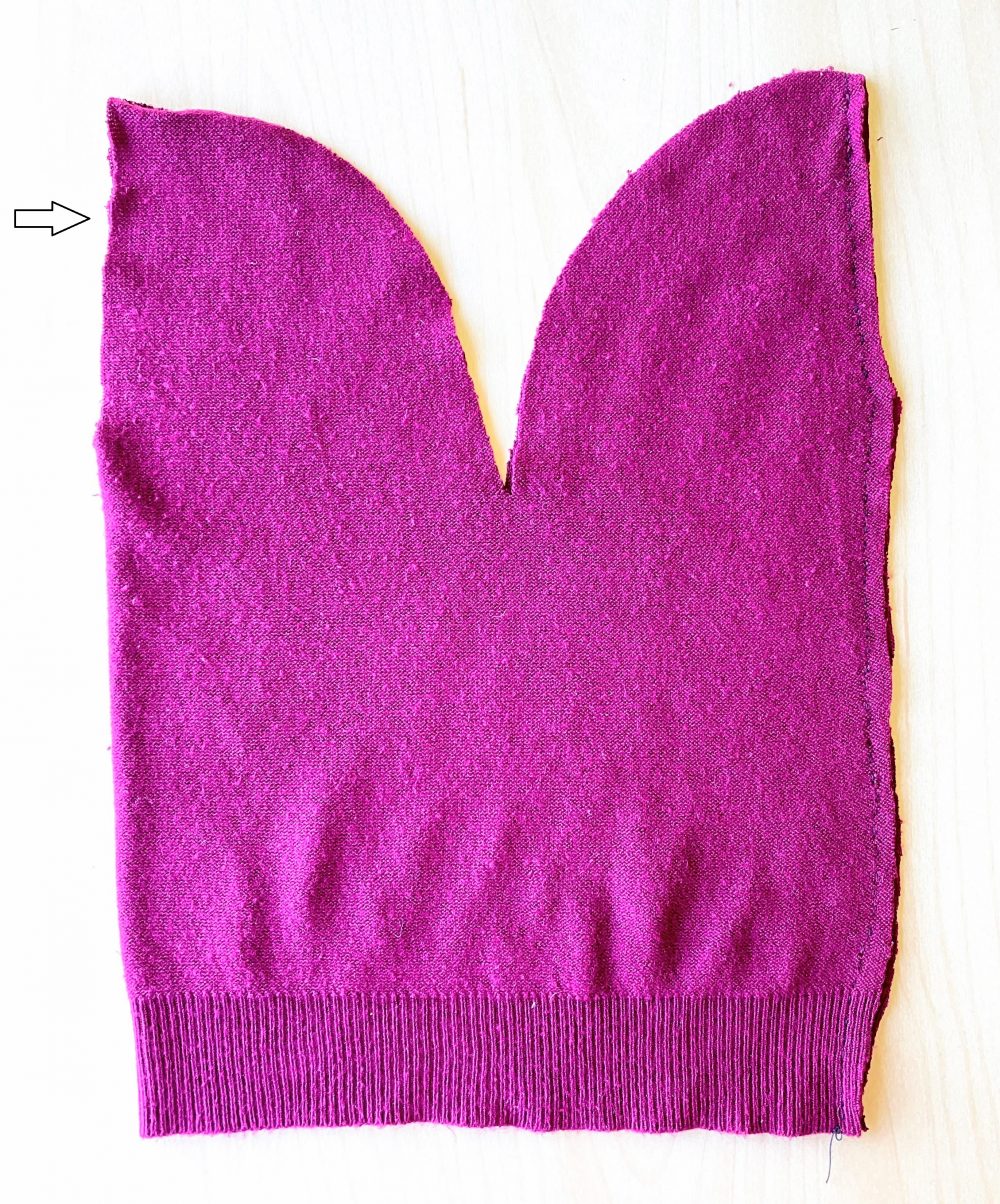
Put pattern on top and fasten with pins so that it does not move. Cut carefully. I recommend cutting on a table or floor where there is a lot of space and the sweater does not need to be raised and creased to get all the curves of the cut.
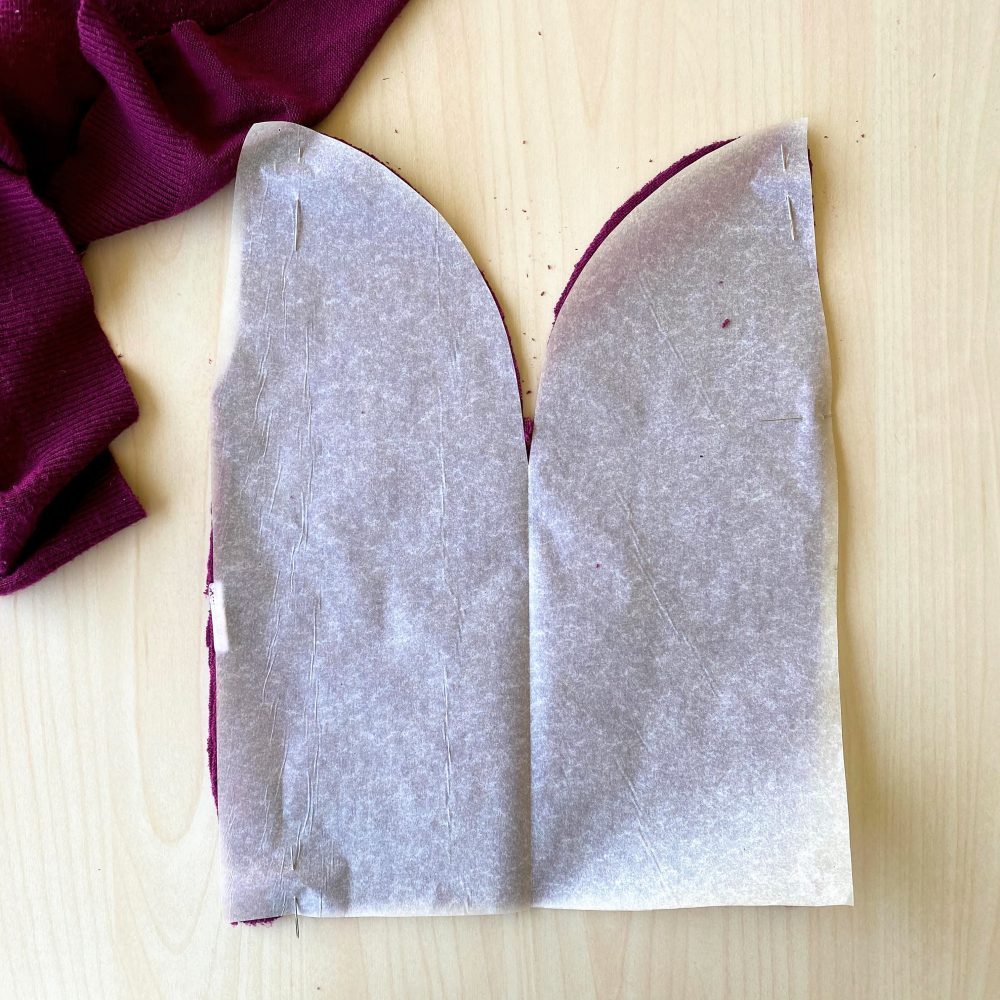
Here I cut out around the pattern, now the pattern can be removed. I will need to cut the side seam of the sweater lightly, because it was difficult to cut it off without moving the pattern. You can leave the cut-out hat folded as it is now, because the first seam will have to be sewn right away.
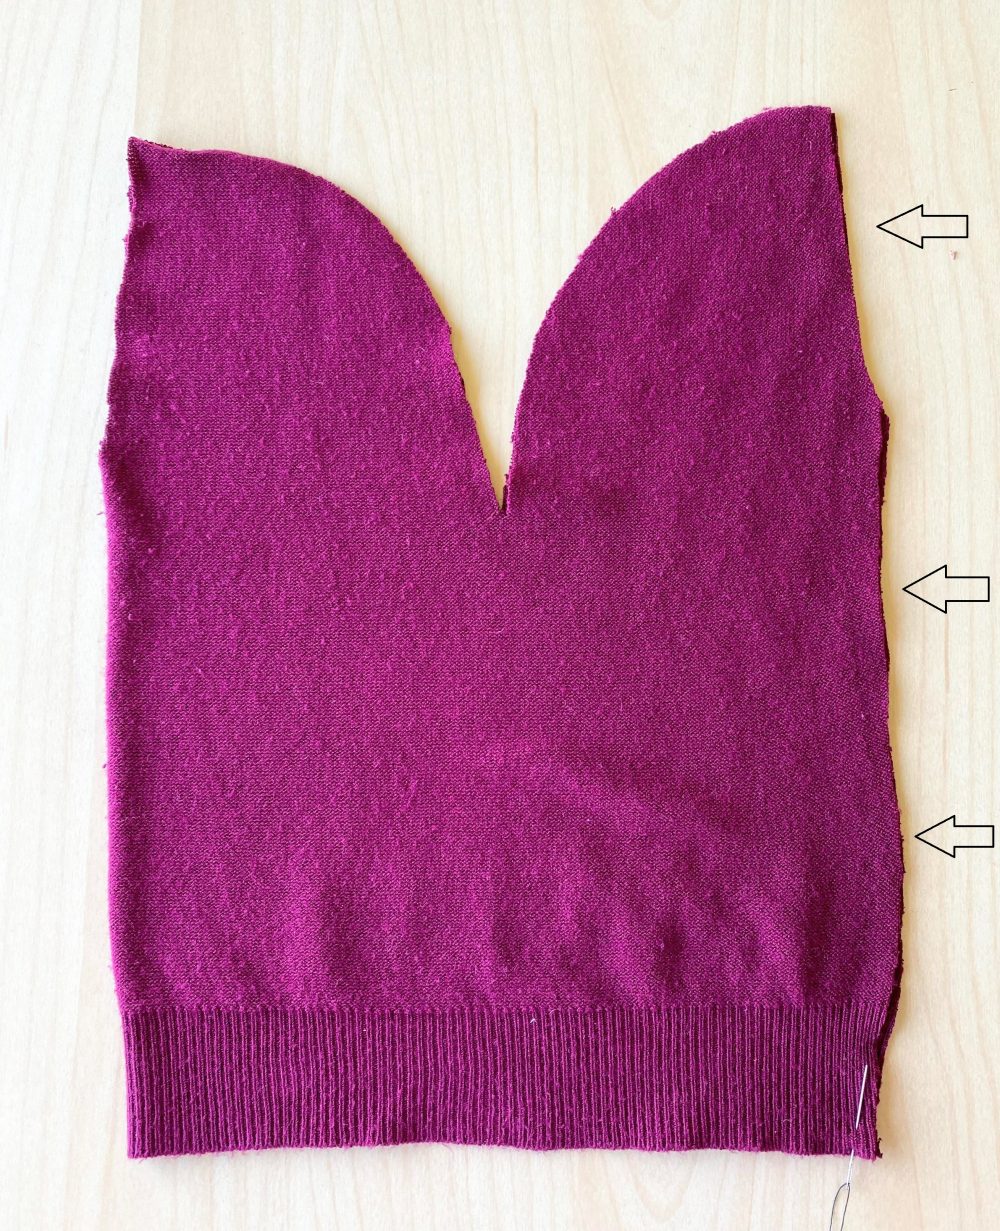
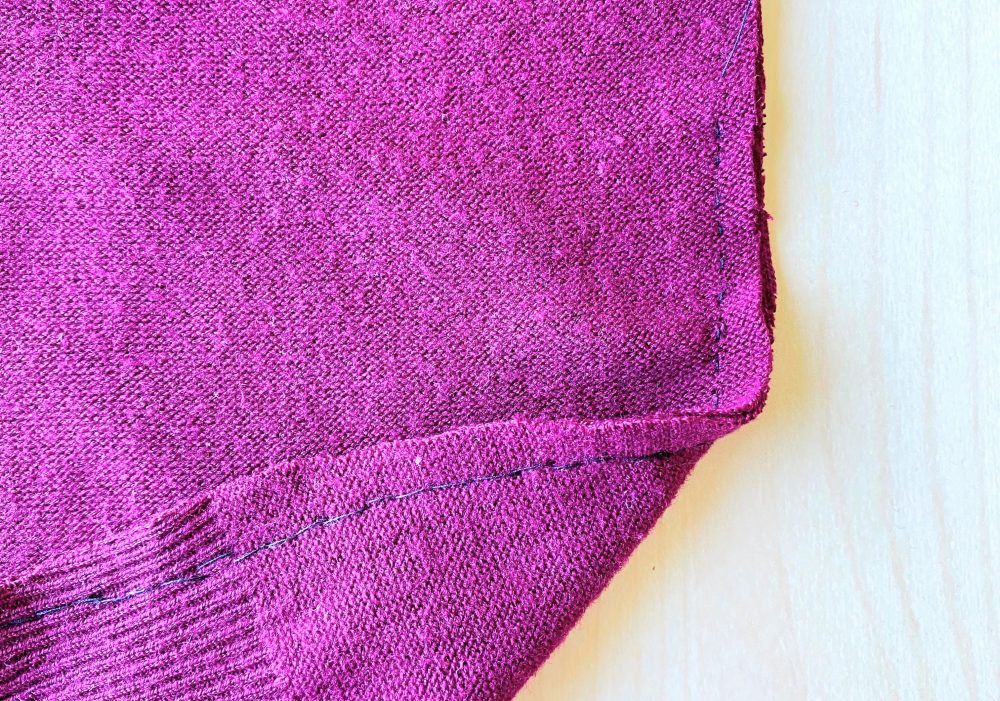
Sew about half a centimeter from the edge. The first seam will be the edge of the hat to be sewn.
Here’s what the seam should look like on both sides – see the next picture.
When the long seam is sewn, in the same way sew the seam on the opposite side of the hat, only the short piece – from the fold to the tip.
Then fold the hat so that the seam is in the middle and the top is round. Align the hat so that the two seams are directly opposite each other.
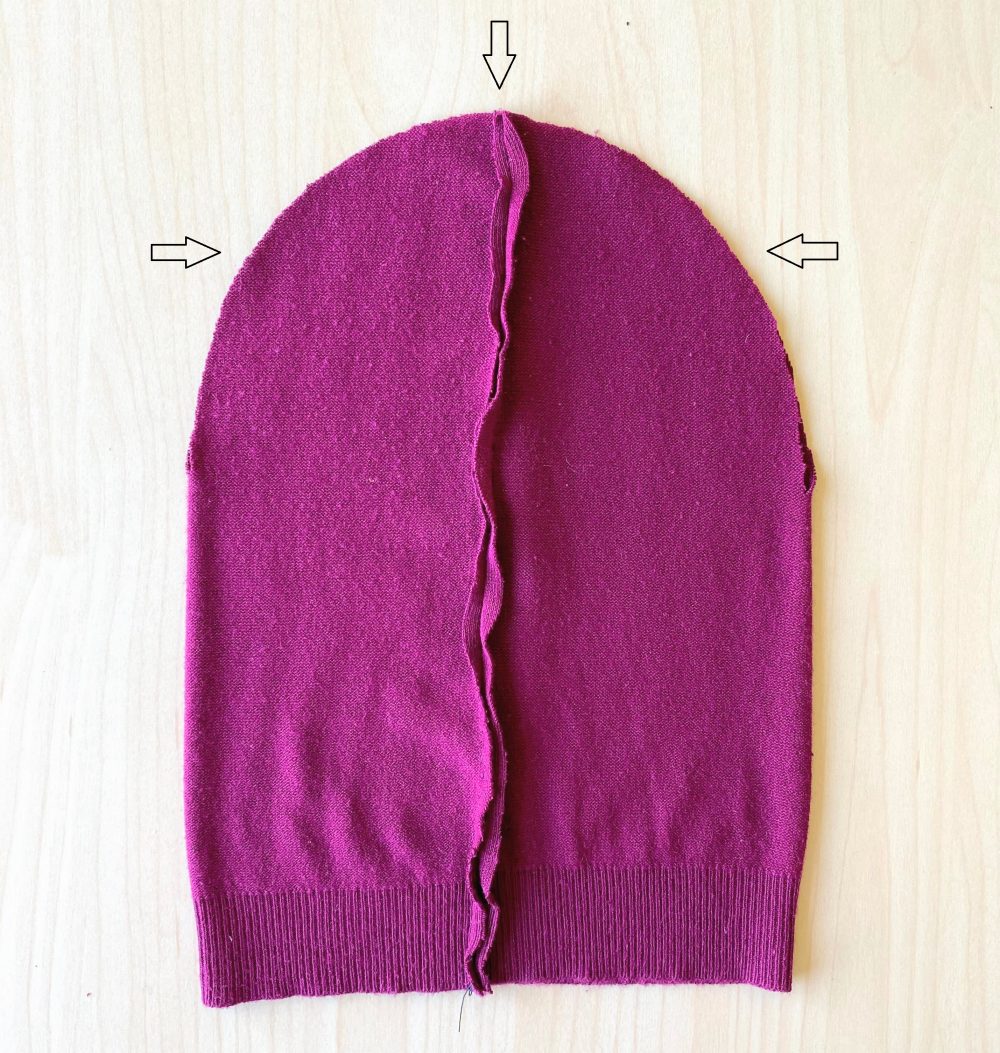
Sew the round part of the hat. Cut off the excess threads and make the hat look neat and worked by ironing it’s seams through a wet cloth.
If you want to sew a light cotton fabric hat, which is especially practical in spring and summer for both children and adults, then you can use an unnecessary T-shirt.
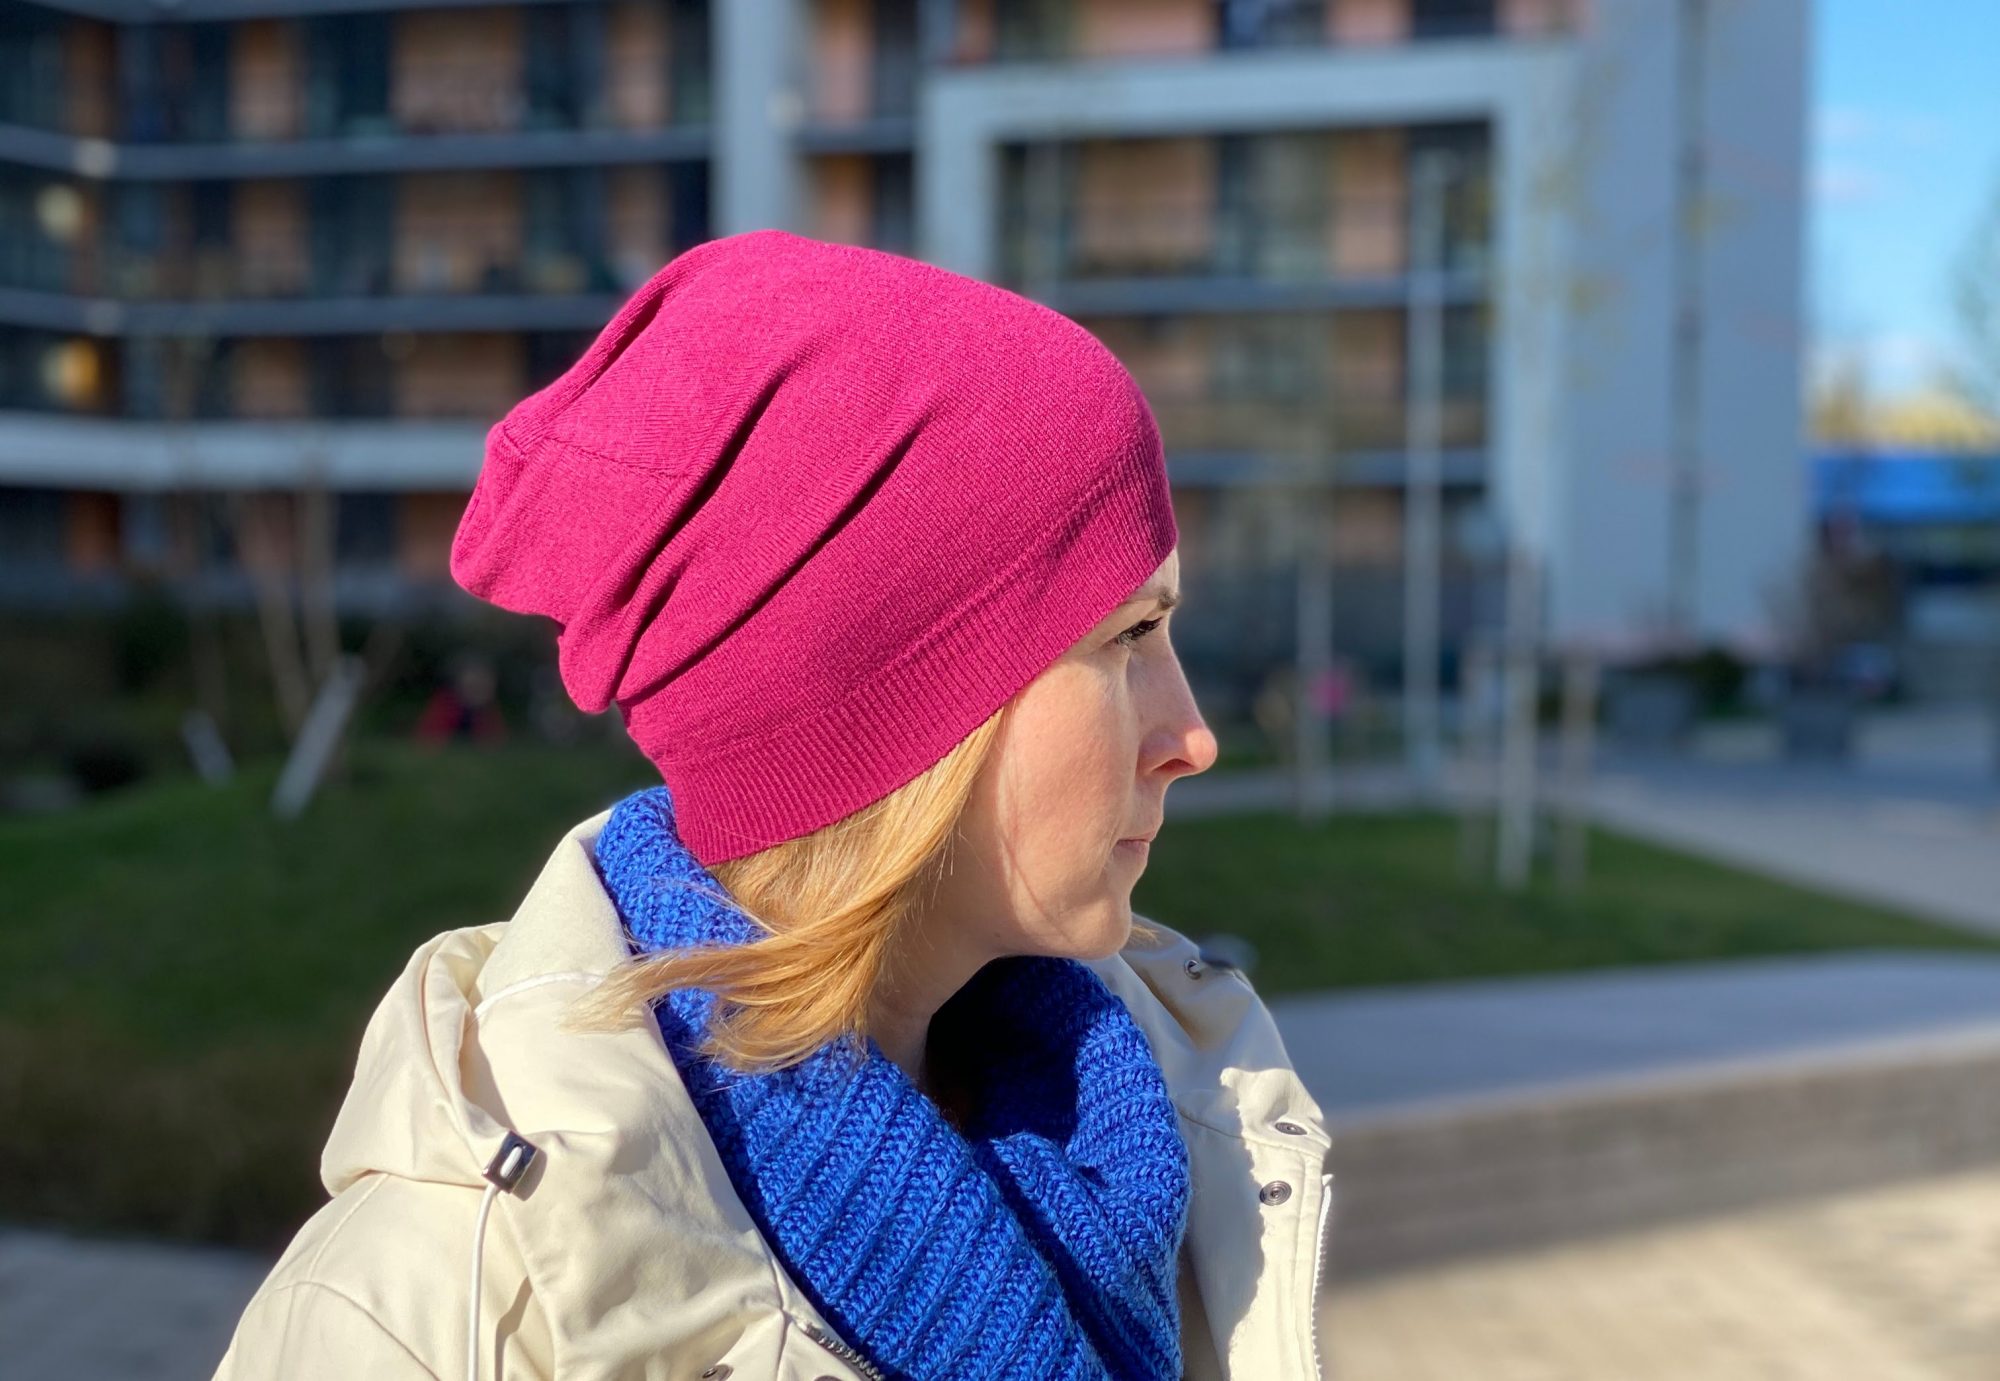
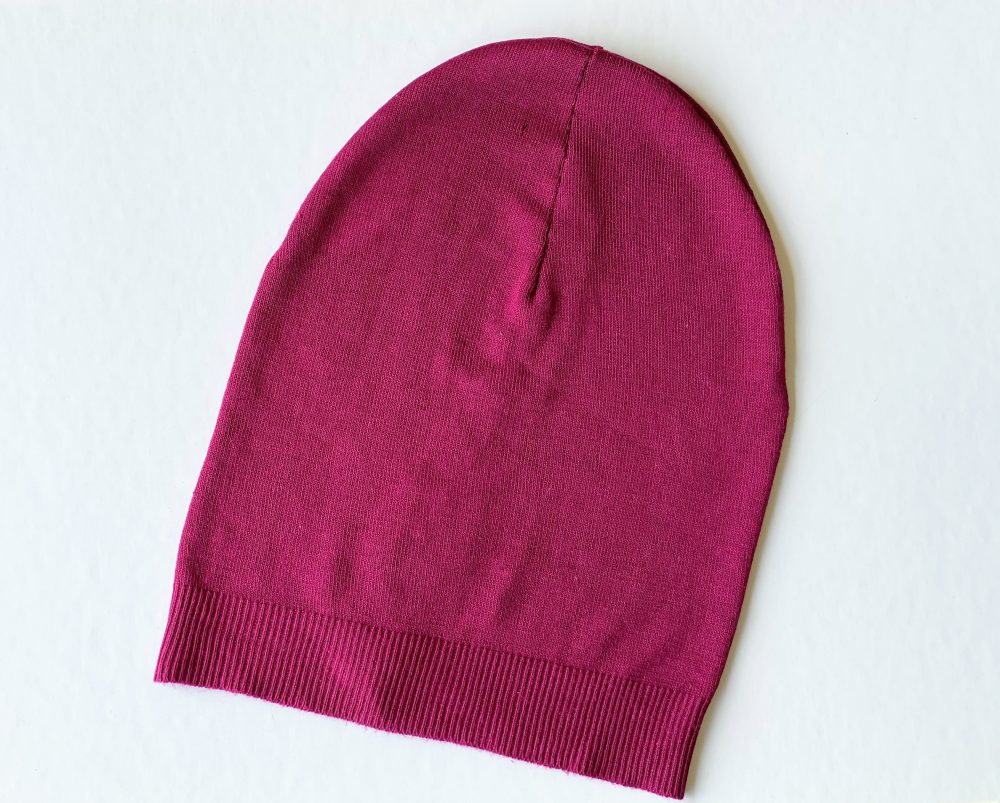
I am really happy with the result. Love that my beanie looks just the same as bought in the shop.
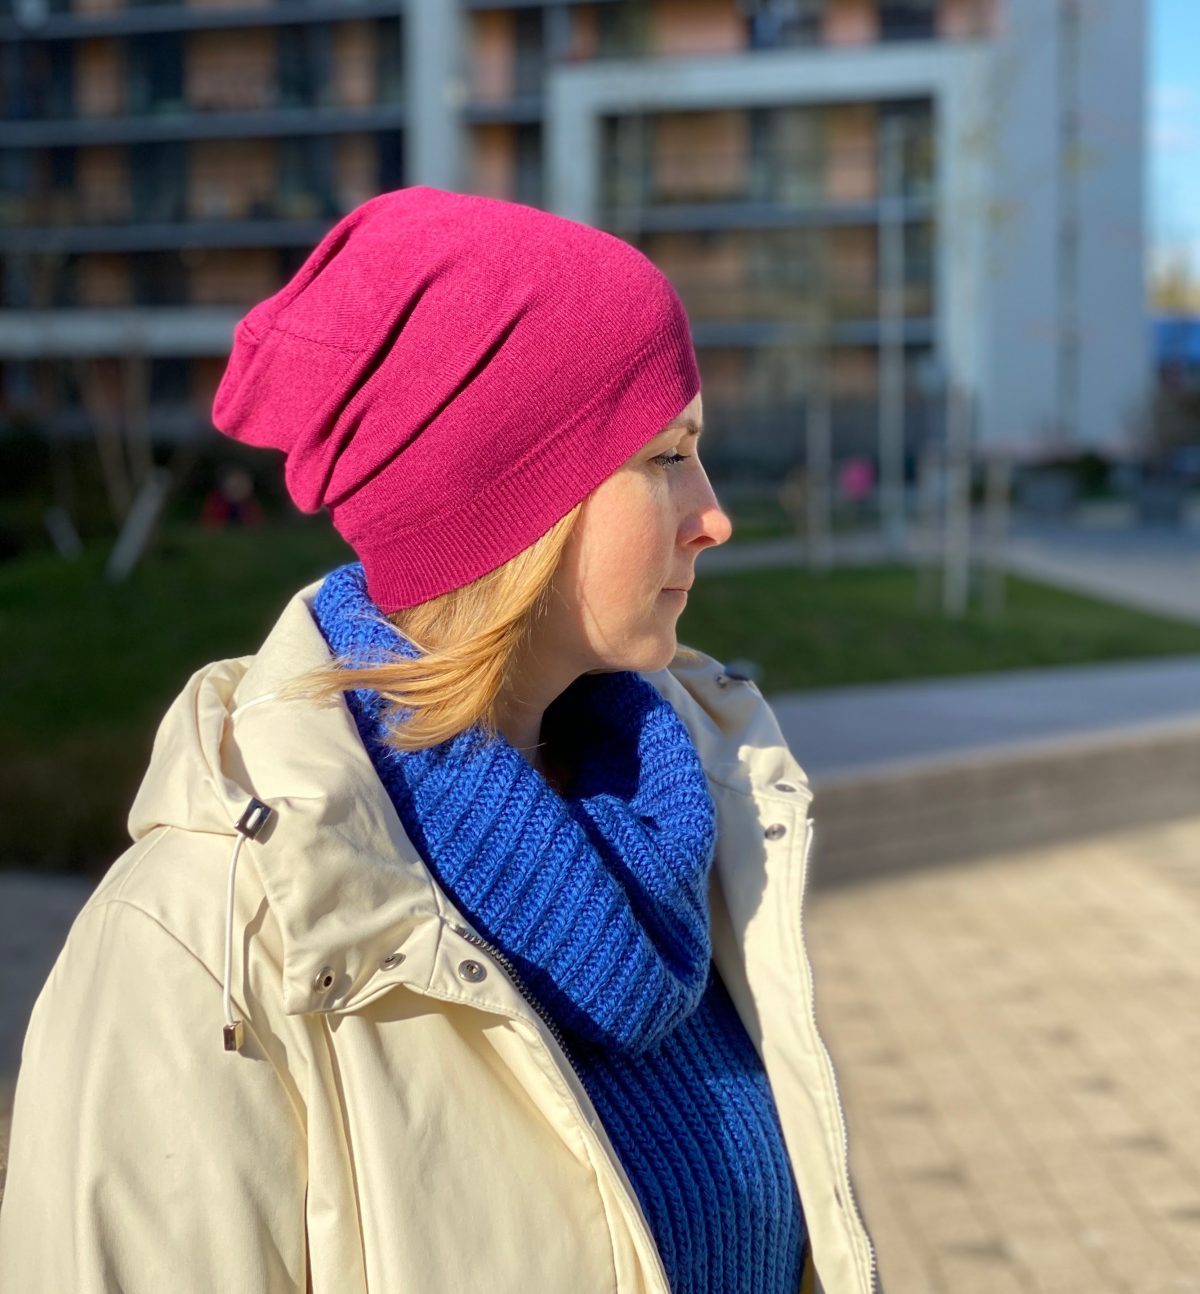
This was easy!
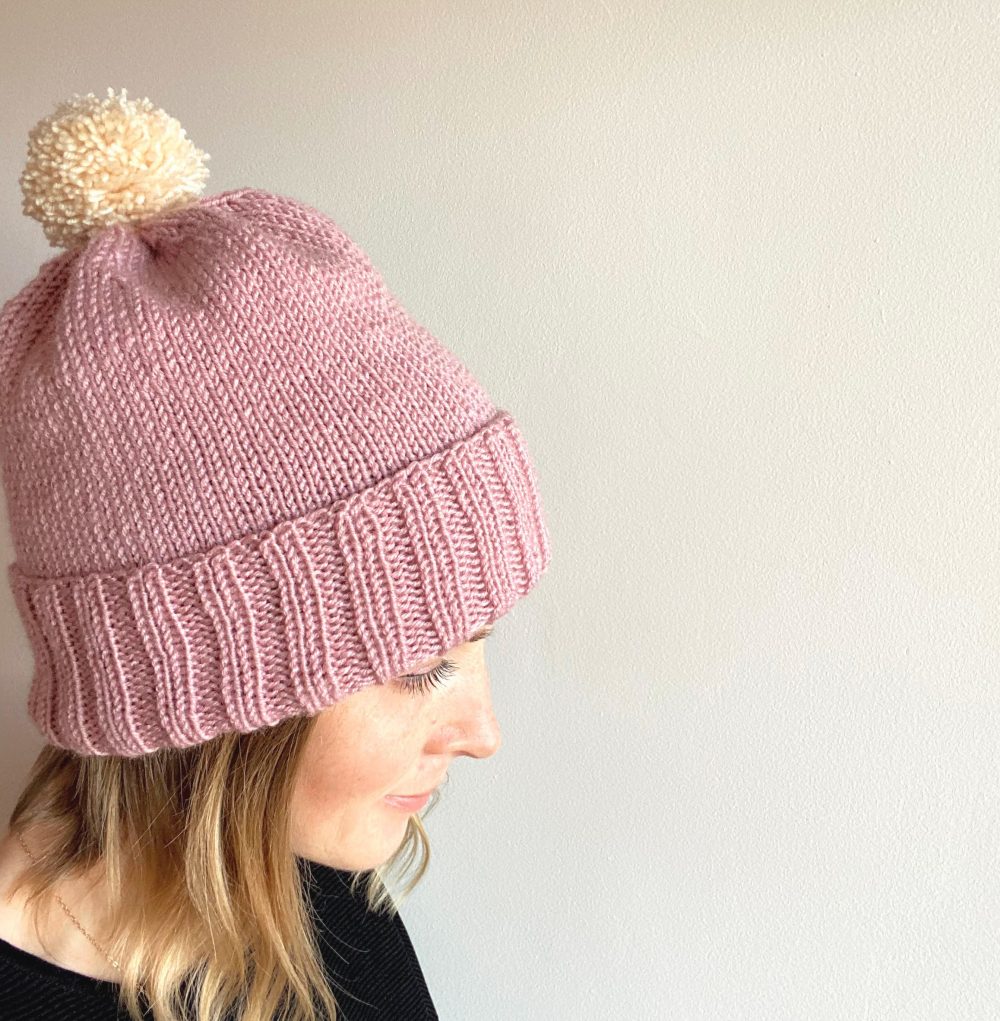
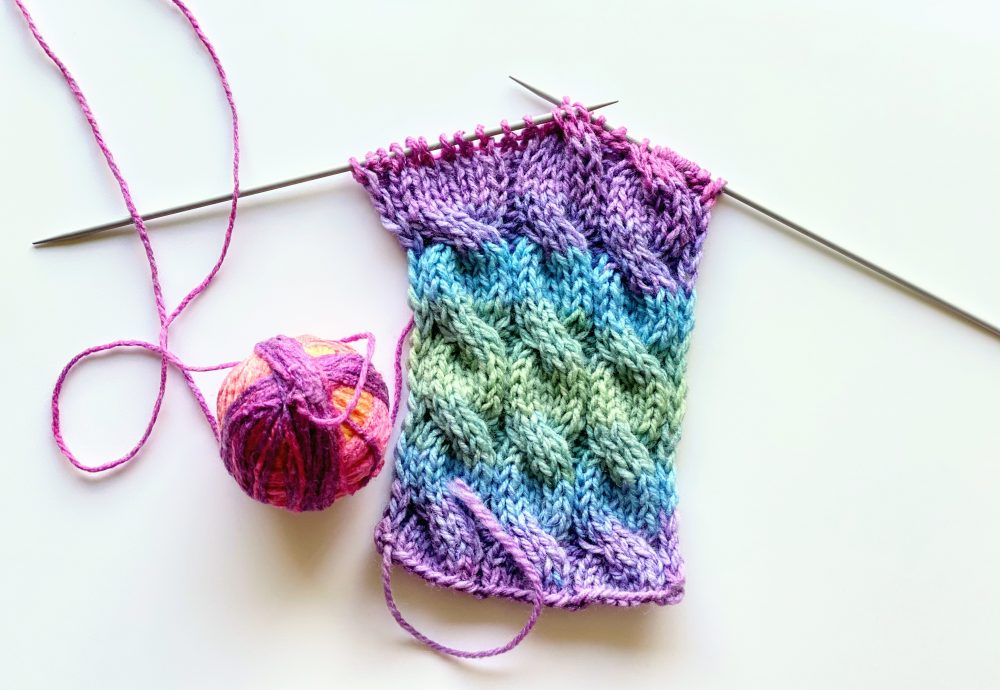
If you want to try another hat than check out my easy hat knitting tutorial – How to knit a hat beginners tutorial.
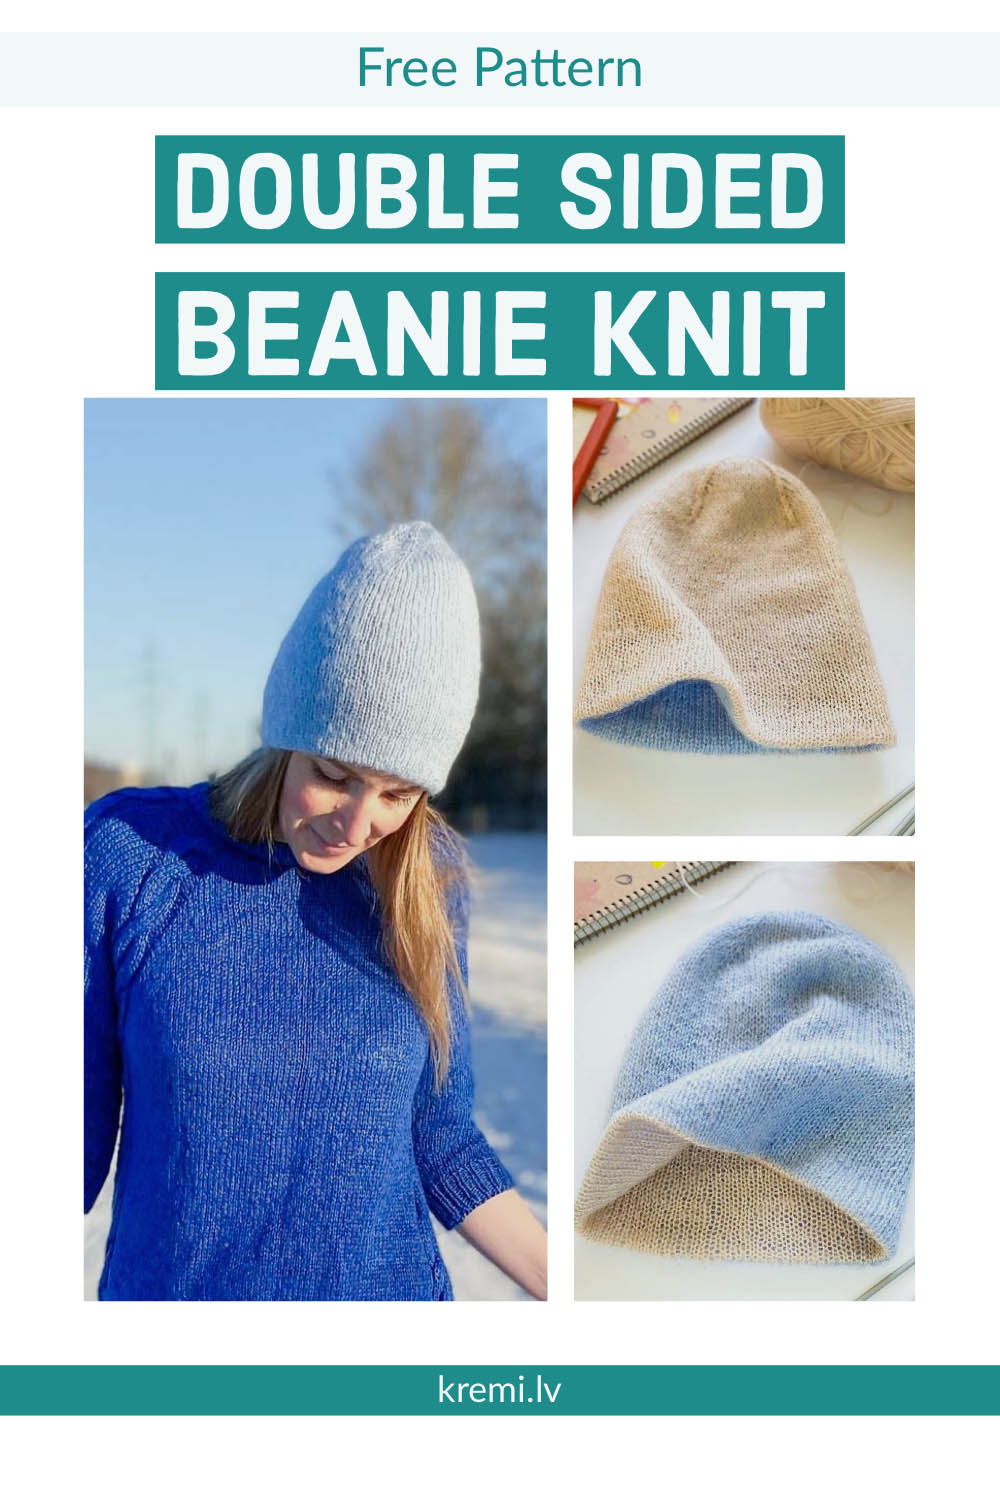
Check my latest tutorial – How To Knit Double Sided Beanie For Beginners